The Olomana Trail, also known as Three Peaks, is one of the top bucket list hikes in Oahu. The challenging trail offers adventure and stunning views, but it can also be dangerous.
Keep reading to discover everything you need to know before safely hiking the Olomana Trail.
*Disclaimer: This post contains affiliate links. If you make a purchase through a link we will receive a small commission at no extra cost to you. Thank you for your support!
Tips for Hiking the Olomana Trail (Three Peaks)
Table of Contents
- Olomana Trail Information
- Where is the Olomana Trail located?
- Where to park when hiking the Olomana Trail
- What to expect when hiking the Olomana Trail
Olomana Trail Information
- How long is the Olomana Trail? From the parking area, it is 4.5 miles out and back if you do all 3 peaks. It is approximately 3.8 miles if you only go to the first peak and back.
- How difficult is the Olomana Trail? The trail is rated difficult due to the steep inclines, rocky sections, and exposed ridges.
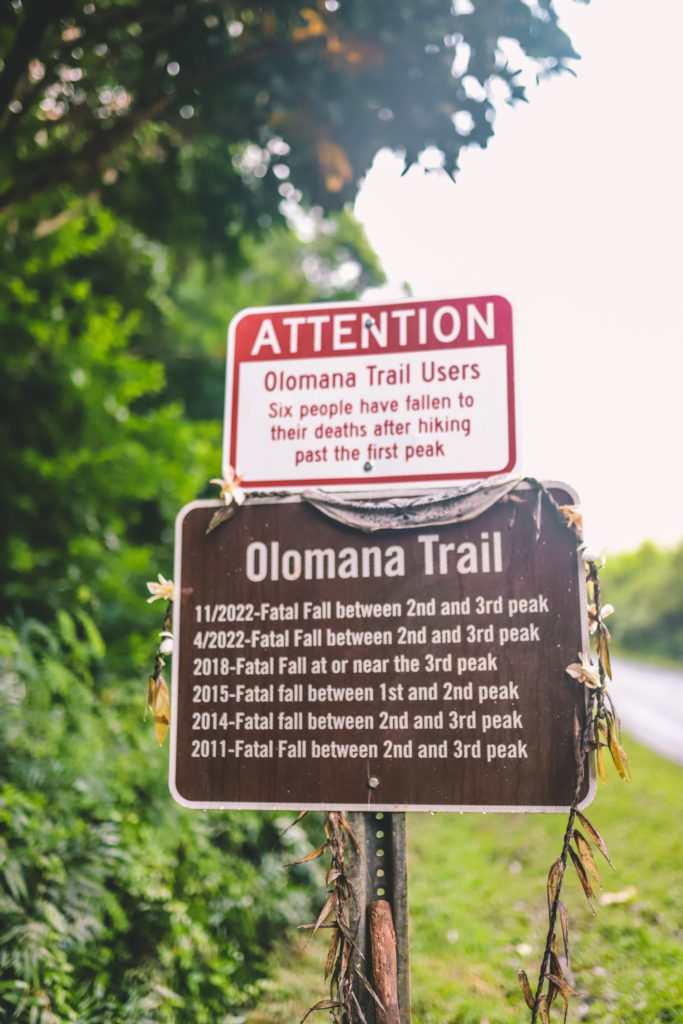
- How many people have died on the Olomana Trail? From 2011-2022 there have been 6 deaths on the Olomana Trail.
- Is there a fee to hike the Olomana Trail? No
- Is the Olomana Trail legal? Yes, the Olomana Trail is open to the public.
- How long does it take to hike the Olomana Trail? Plan for about 3-3 1/2 hours to hike to the first peak and back with time at the top to take in the views.
- What is the elevation gain? The total elevation gain is 1,784 feet, but the elevation gain to the first peak is about 1,420 feet.
- Is the trail kid-friendly? No, this hike is too dangerous for young kids. I would recommend that kids should be at least 12 years old to hike to the first peak, but it depends on their ability and experience.
- Is the trail dog-friendly? No, dogs are not allowed on the trail.
- Are there bathrooms at the trailhead? No
- When is the best time to hike the Olomana Trail? The trail is open year-round. I would recommend coming in the early morning to avoid the crowds and the heat.
Where is the Olomana Trail located?
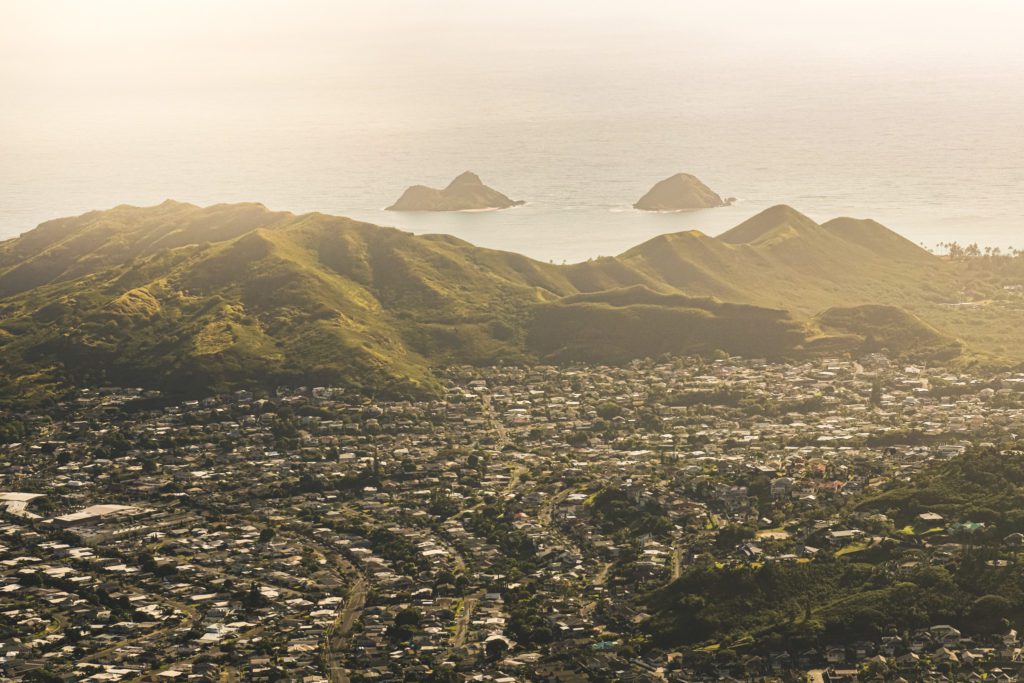
The Olomana Trail is located on the Windward (eastern) side of Oahu, near the town of Kailua.
It is about a 20-minute drive from Honolulu and a 50-minute drive from Laie. The trailhead is easy to access via Auloa Road right off Hwy 61.
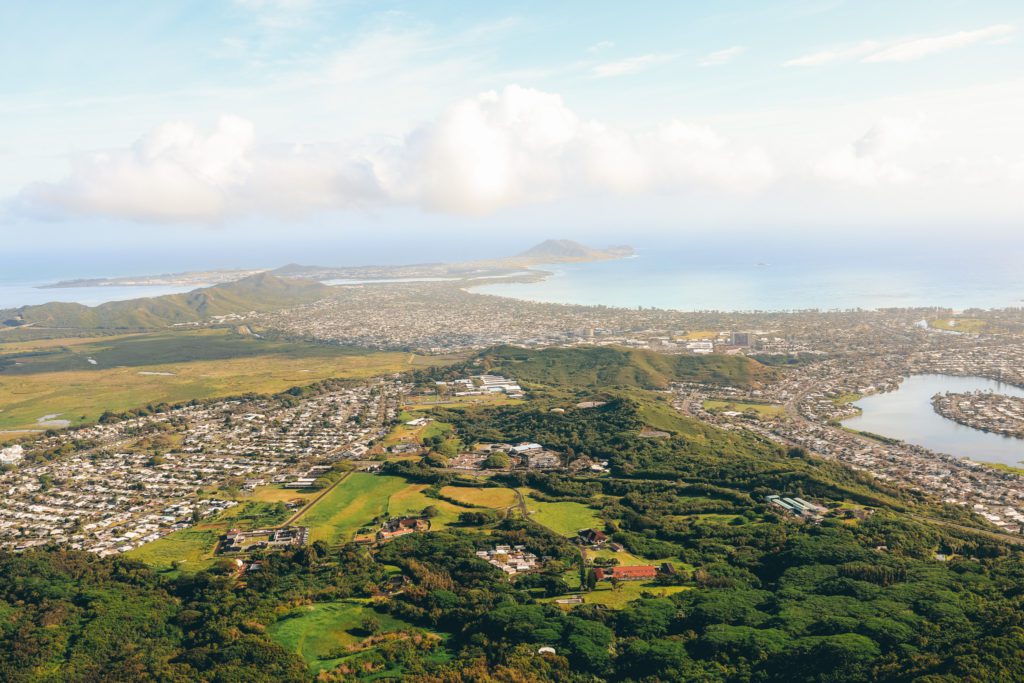
This prime location allows hikers to enjoy stunning panoramic views of both the Koolau Mountain Range and the breathtaking coastal landscape.
Where to park when hiking the Olomana Trail
Parking is very limited for the Olomana Trail and the area is notorious for towing and ticketing cars.
There is no designated parking lot at the trailhead. In fact, you’ll need to park your car along the side of the road and walk about a mile to reach the trailhead.
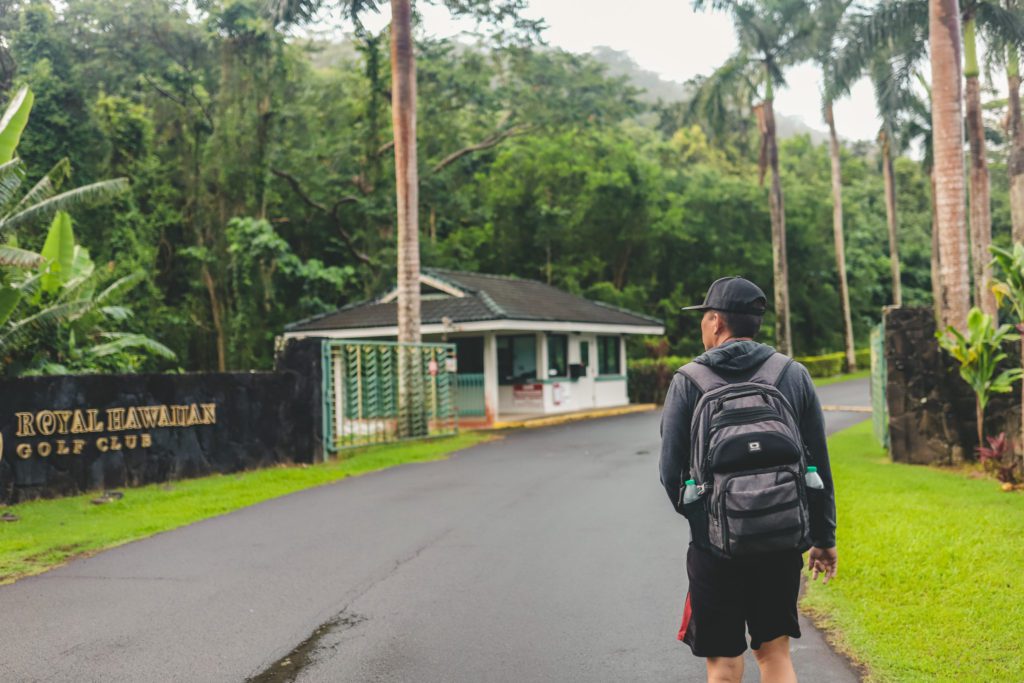
The beginning of the official trail is actually located within the private Royal Hawaiian golf course.
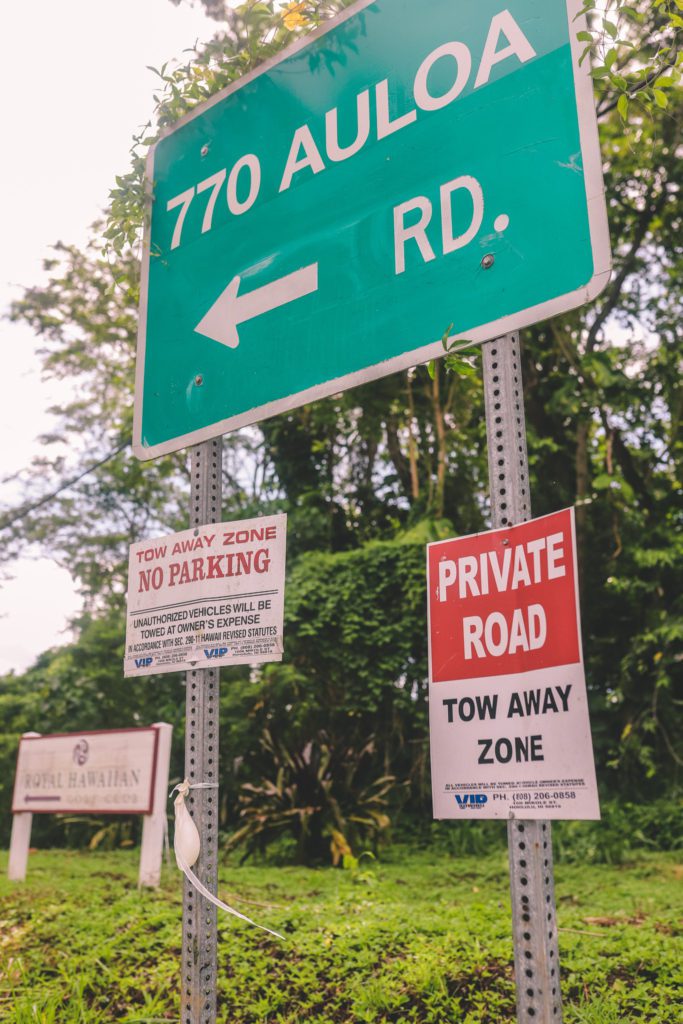
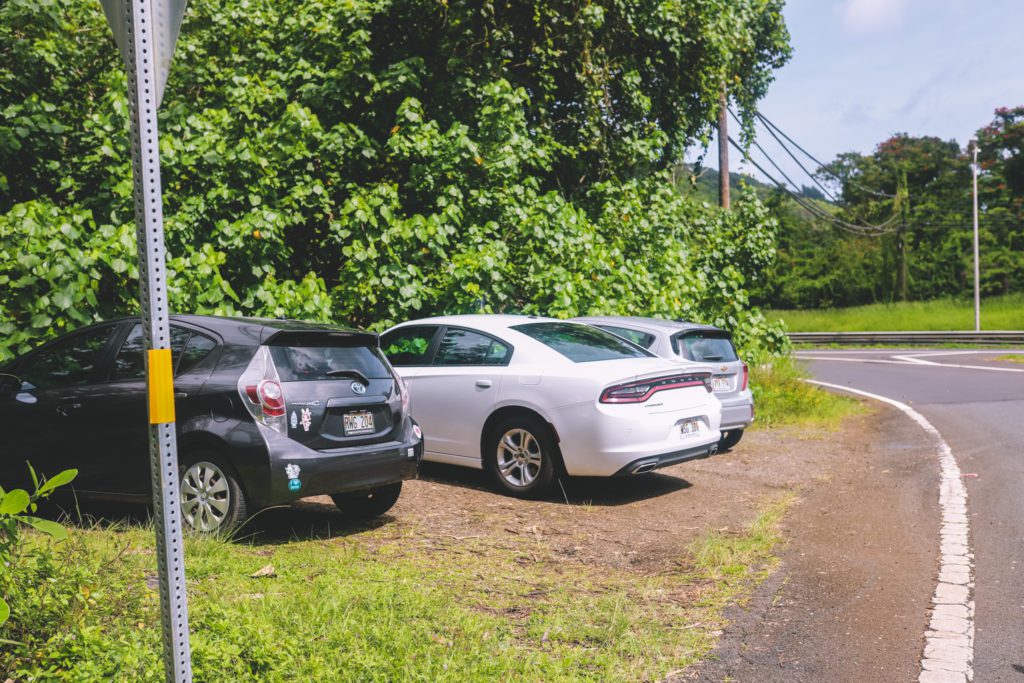
The best place to park is along the side of Auloa Road.
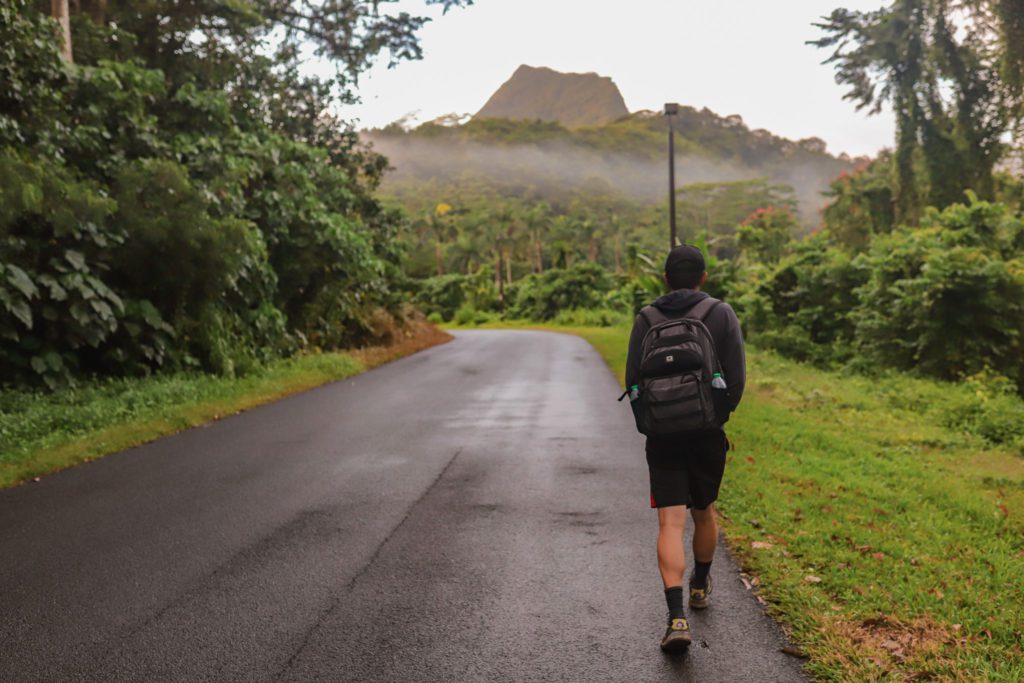
You’ll then walk 0.8 miles up Loop Road and past the golf course guardhouse before reaching the trailhead.
The trail is open to the public, even though you will be walking on private property to reach it. You are just not allowed to park along Loop Road or drive past the guardhouse.
Parking is limited at Auloa Road and you’ll need to pay attention to the “no parking” signs.
Also, be aware that you are not allowed to park on the asphalt walkway next to the road. This is considered a sidewalk and you will be ticketed if your tires are parked on it.
The best spot is a small dirt patch as soon as you turn right onto Auloa Road. I would recommend arriving early in the morning to snag a spot.
See the map below for the best place to park for the Olomana Trail:
What to expect when hiking the Olomana Trail
Mt. Olomana Trail, also known as Three Peaks, is one of the deadliest hikes on Oahu.
At the beginning of the trailhead, you’ll see a sign posted with the number of people who have died on the trail.
However, all of the deaths happened after peak 1, with the majority of the fatal falls between the 2nd and 3rd peak.
If you practice safety, caution, and common sense, then the hike to the first peak isn’t too dangerous.
After parking, you’ll walk 0.8 miles up Loop Road before reaching the trailhead that is located within the grounds for the Royal Hawaiian golf course.
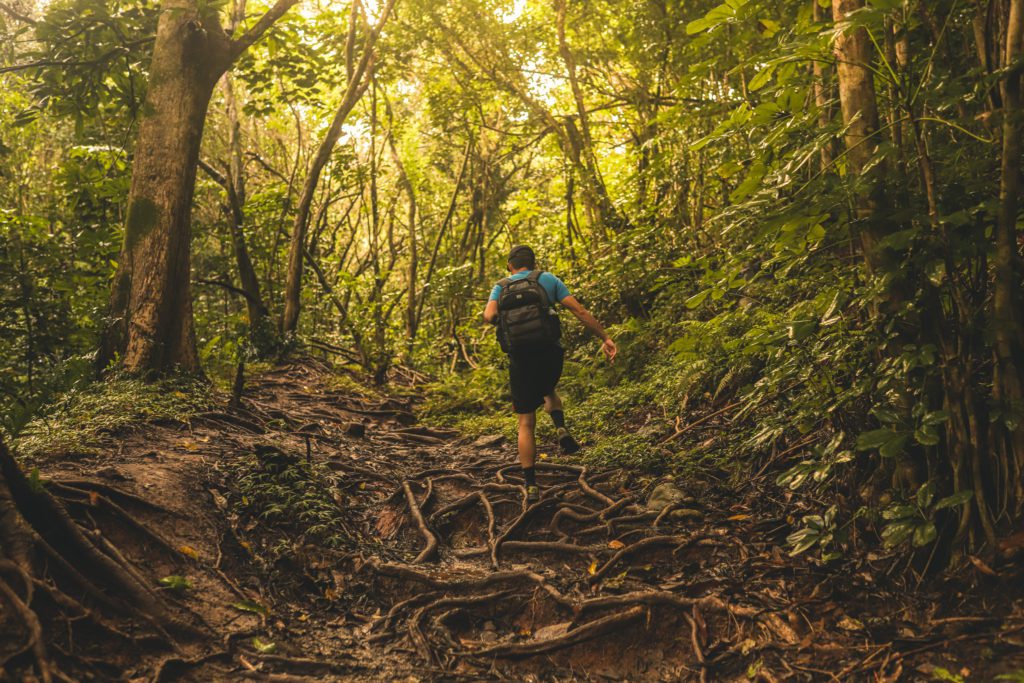
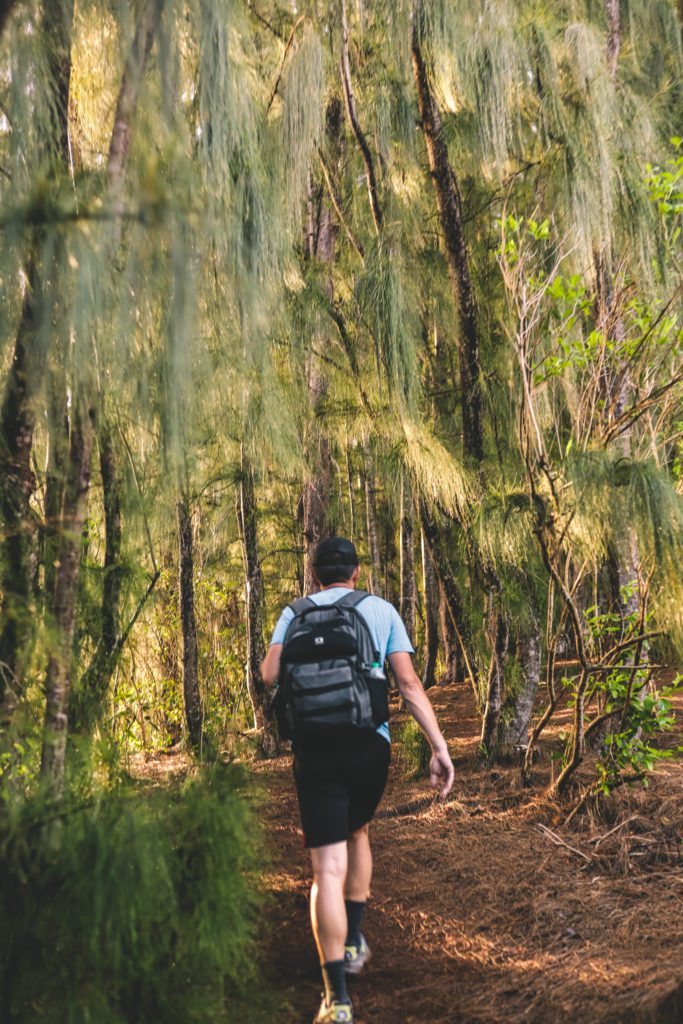
The trail is hidden within the dense rainforest and immediately begins a steady incline.
You’ll gain about 1,170 feet of elevation over the next mile as you make your way to the summit of peak 1.
The terrain varies as the trail winds through a variety of native plants and trees, including kukui nut and guava trees.
There is limited cell service, so I would recommend upgrading to AllTrails Pro so that you can download the map and use it offline.
I always use this anytime I am hiking, but especially in Hawaii when it can be easy to lose the trail.
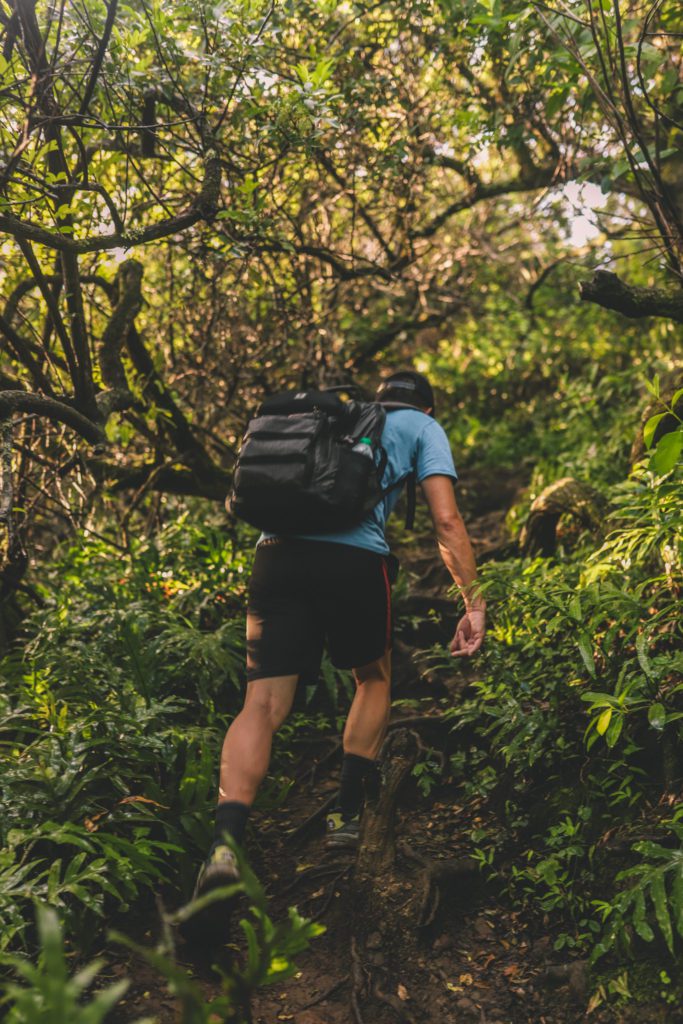
The trail is characterized by steep ascents, narrow ridges, and rocky rugged terrain with exposed tree roots.
The path can also be muddy and slippery so use caution and wear sturdy hiking shoes with good traction.
You’ll get a good workout and will find yourself huffing and puffing as you work your way up the ridge of the mountain.
The trail is deep within the rainforest and you won’t be able to see any panoramic views along the way quite yet.
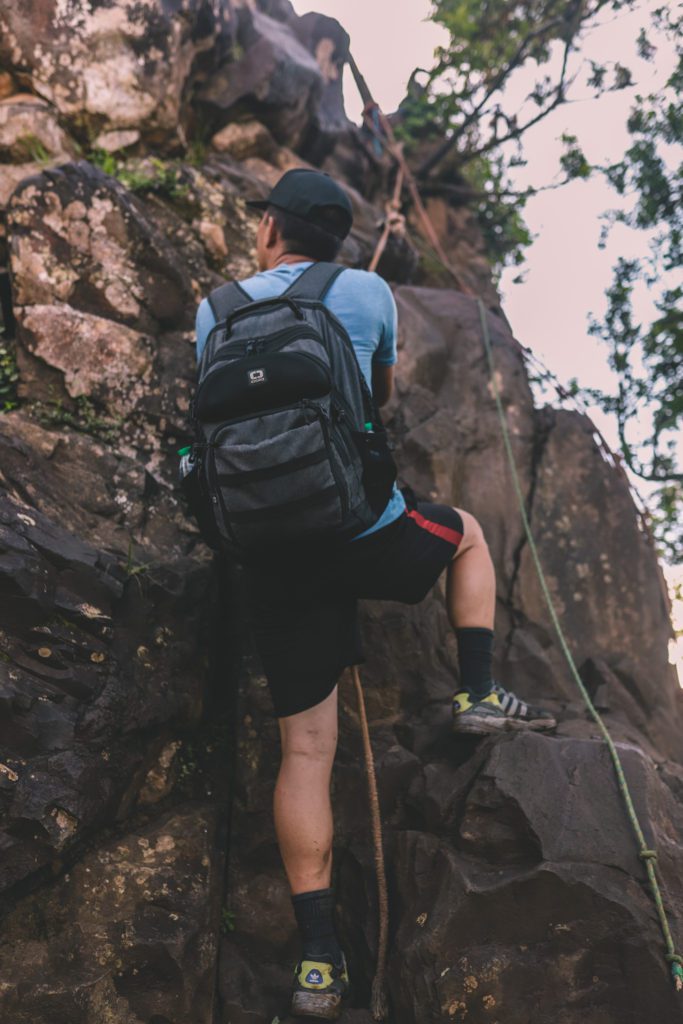
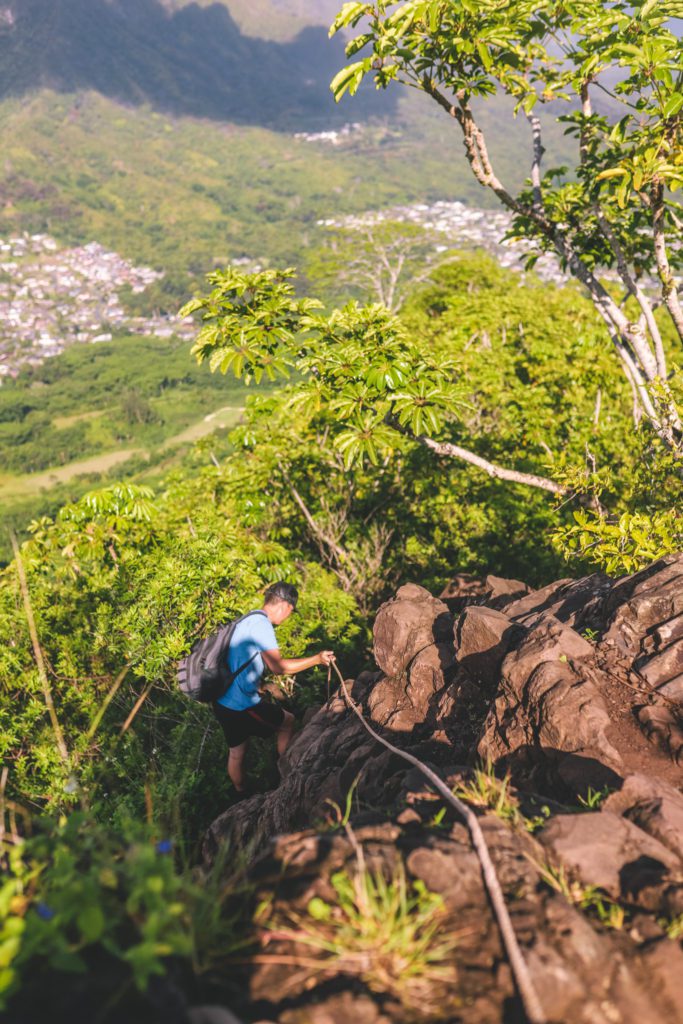
As you get closer to the first peak, the trail starts getting steeper and you’ll encounter your first rope climb.
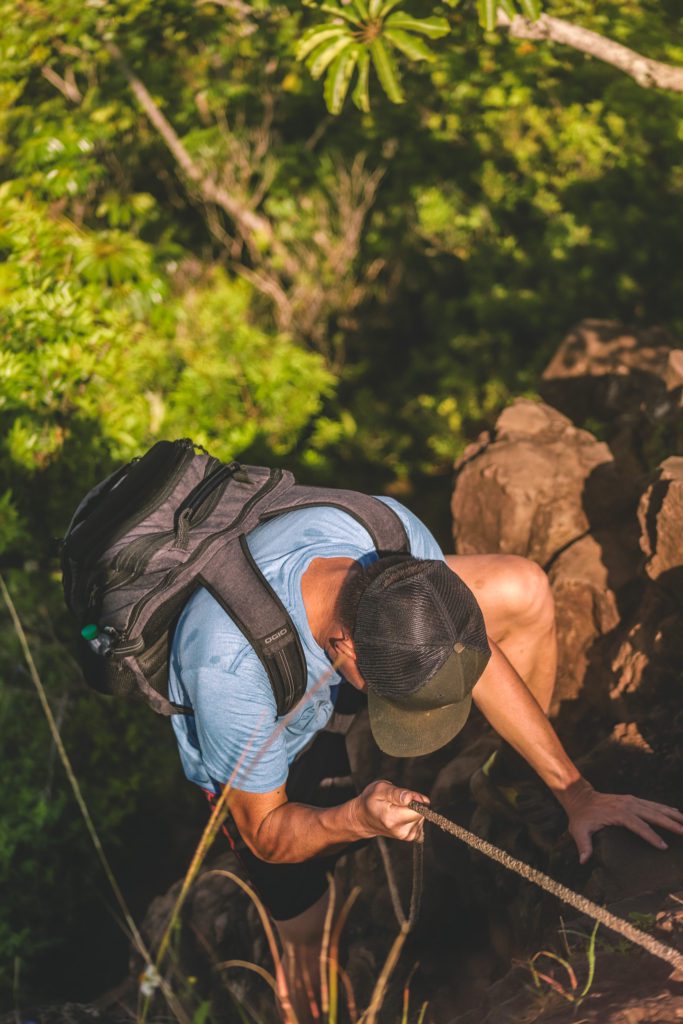
Ropes have been attached along the trail to assist hikers in areas where the rock scrambling is a little more challenging.
Be sure to check that the ropes are secured, then take your time and use caution so that you don’t slip. Avoid hiking in the rain as the rocks can become quite slippery.
As you make your way closer to the summit, you’ll soon emerge out of the trees.
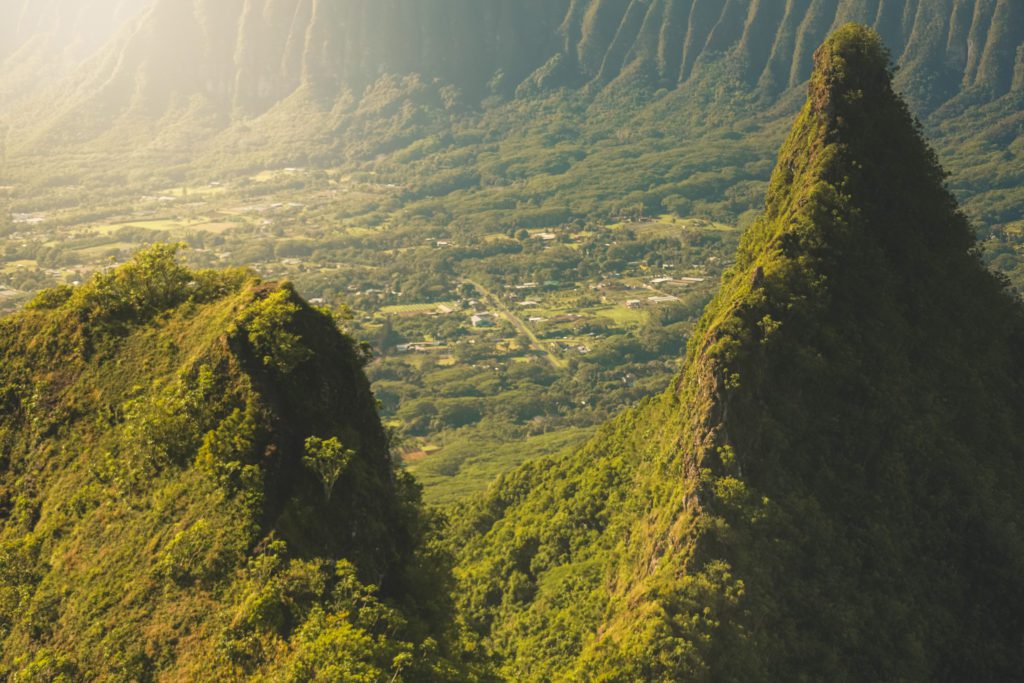
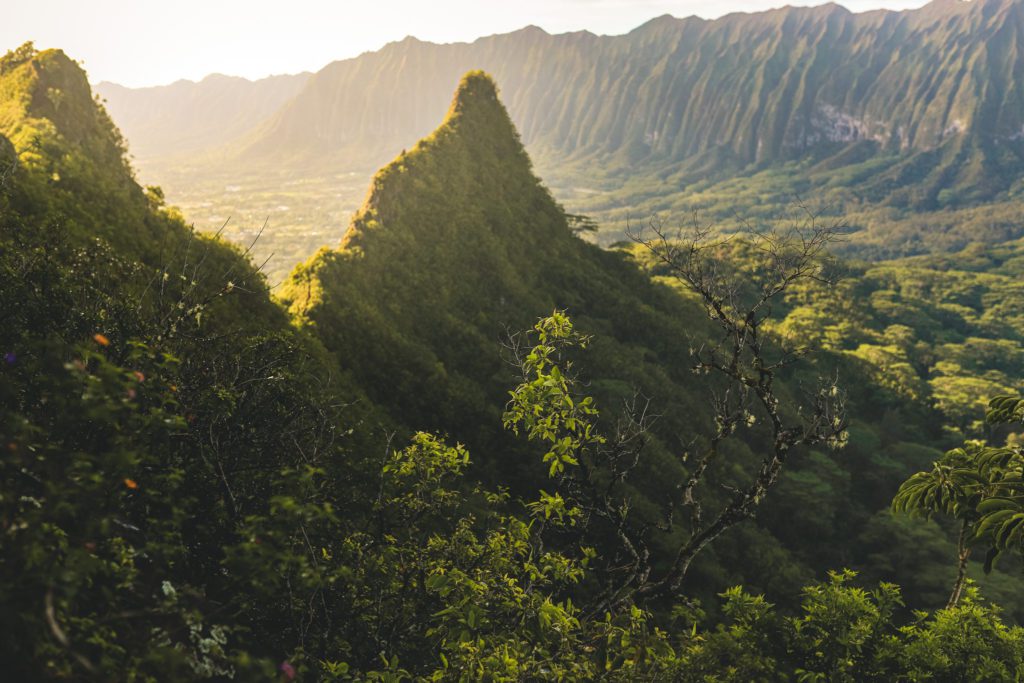
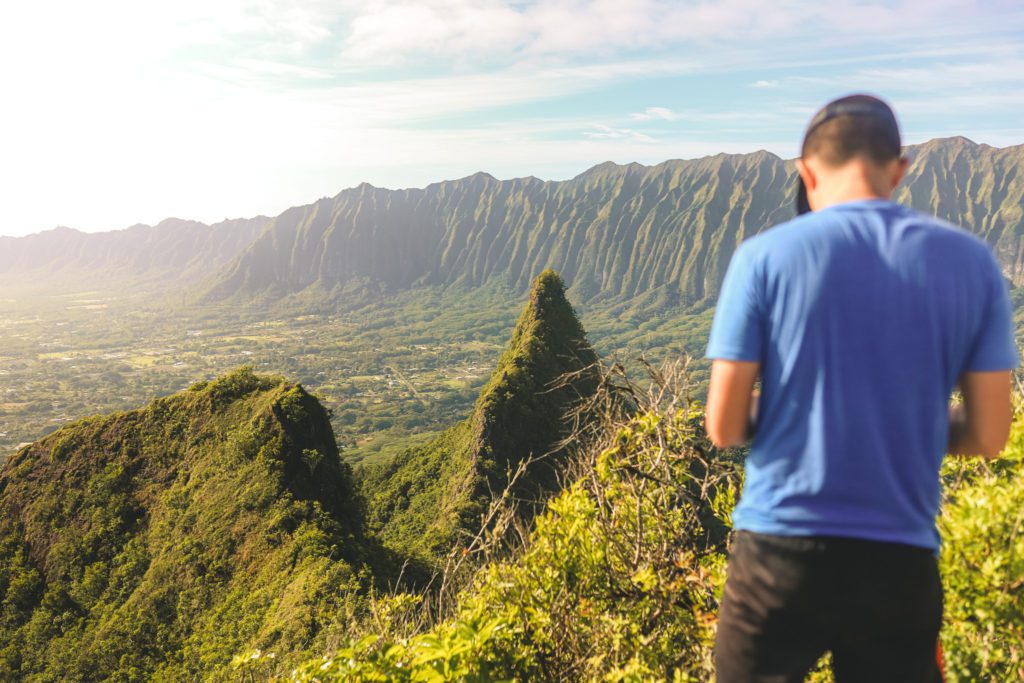
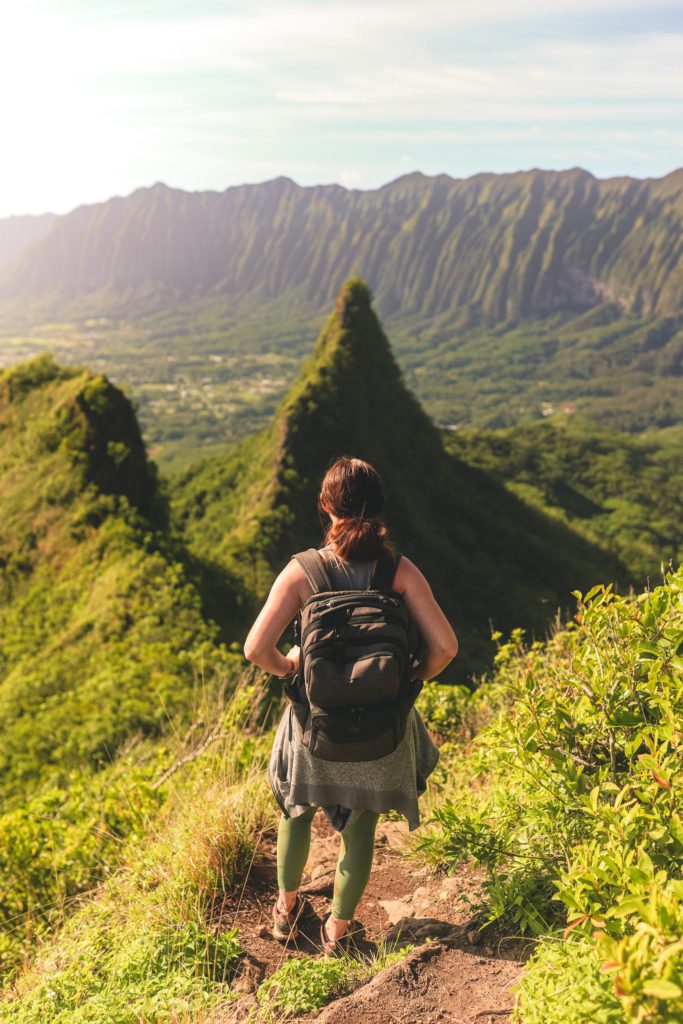
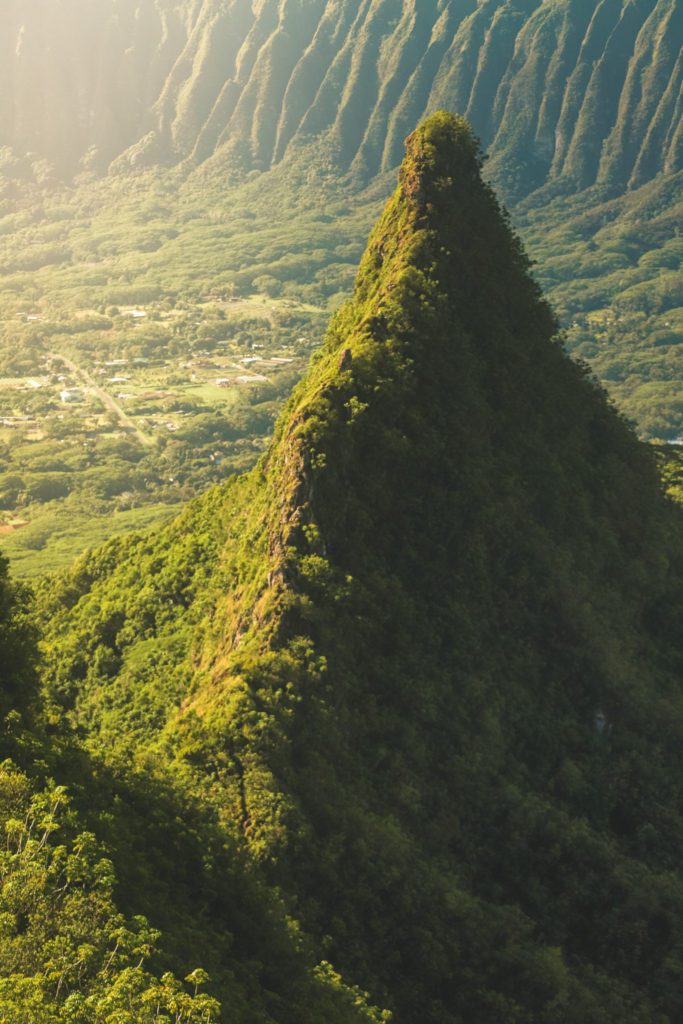
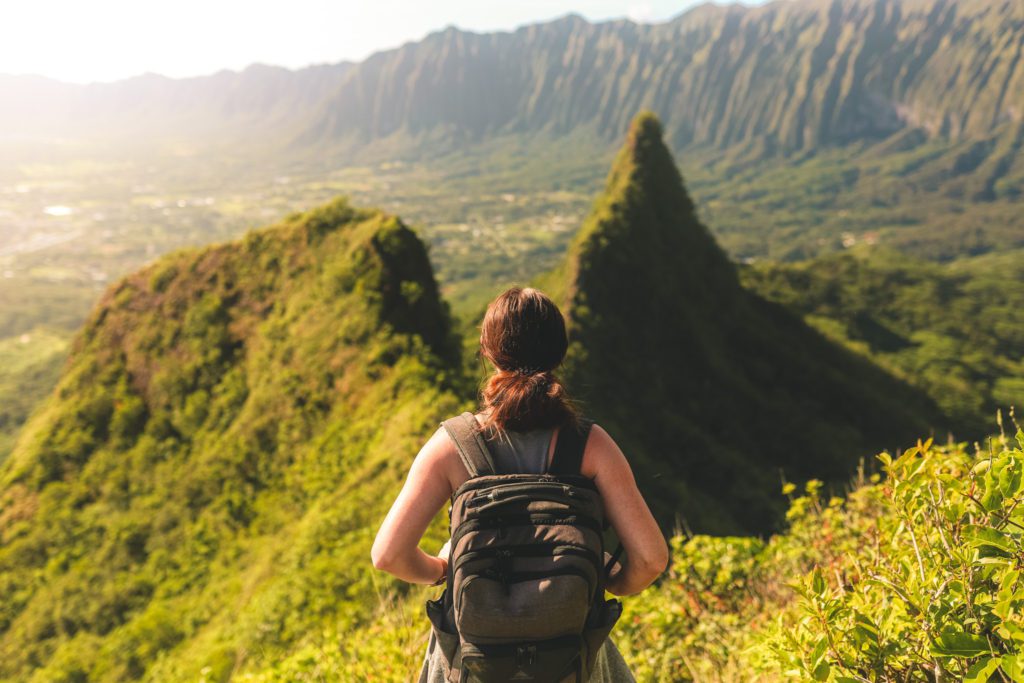
You’ll finally be able to catch your first glimpse of the 2nd and 3rd peaks along with the sweeping panoramic views.
The trail gets quite narrow towards the top with steep drop-offs, so use caution, especially if you are sharing the trail with other hikers.
The summit of the first peak is 1.1 miles from the trailhead and 1.9 miles from the parking area. It took us 1 1/2 hours while going at a moderate pace with only a few stops.
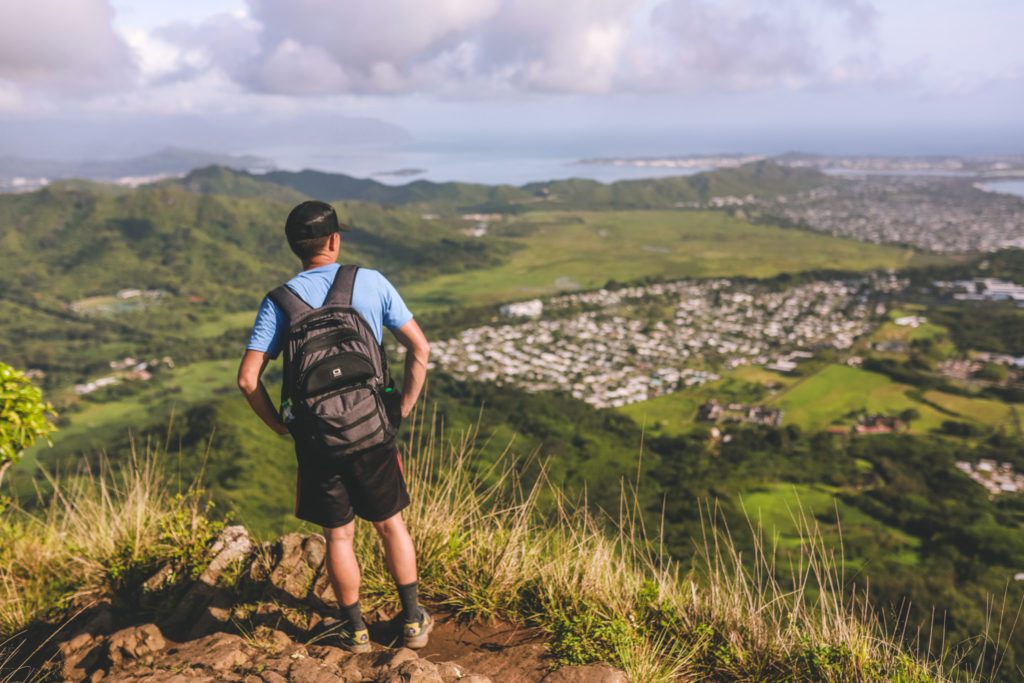
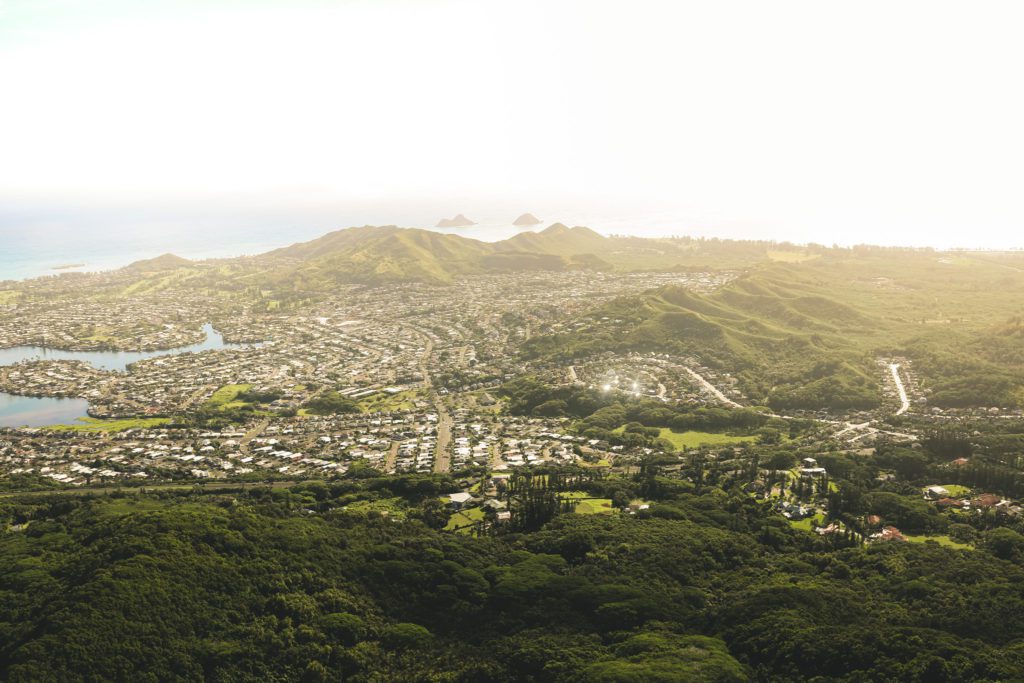
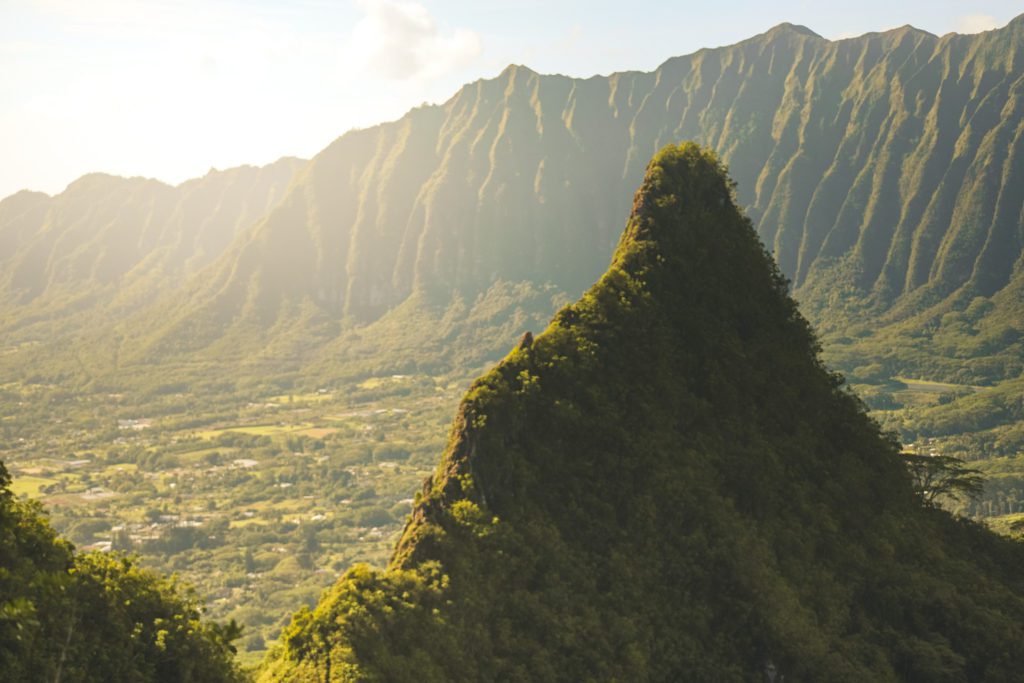
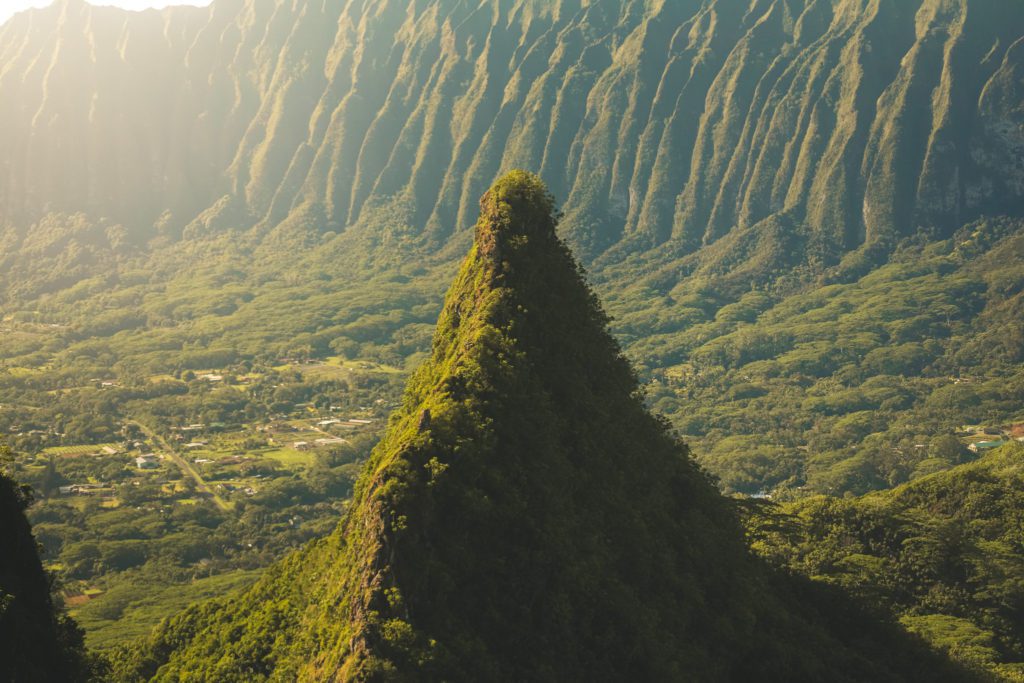
Once you reach the top of the peak, you’ll be rewarded with unmatched views of the Koolau Mountain range and the Windward Coast.
On clear days, you may even catch a glimpse of the neighboring islands of Molokai and Maui far off in the distance.
There is a little area at the top that is big enough for a small group, but I would highly recommend coming early in the morning so that you can enjoy the hazy morning view all to yourself.
The trail gets more congested as the day goes on. We started hiking at 6 am and didn’t encounter anyone else on the trail until we started making our way down.
Not only are the views spectacular, but Olomana also holds deep cultural significance for Native Hawaiians.
Legend has it that the three peaks represent the three brothers, Olomana, Ahiki, and Nuuanu, who were renowned warriors that possessed extraordinary strength and agility.
At this point, the trail continues down the side of the peak to traverse along the narrow ridge to reach the summit of peaks 2 and 3. However, I would highly recommend turning around at this point.
Summiting the last two peaks will test the skill and nerves of even the most experienced climbers as you have to carefully navigate along the surreally steep exposed ridge. One small slip could prove fatal.
This is where multiple deaths have taken place, so it’s best to just turn back after the first peak.
The views are actually the best from the first peak anyway because you can see the other peaks against the dramatic backdrop of the Koolau Mountain Range.
*Related post: If you love this hike, check out these 8 Awesome Hikes in Oahu!
Due to the challenging nature of the Olomana Trail, it is essential to prioritize safety and respect the environment.
[convertkit form=3250084]
Stay on designated trails, follow any posted signs, and be mindful of changing weather conditions. Avoid hiking if it has been raining as the trail becomes quite slippery and dangerous.
It is crucial to come prepared with proper footwear, plenty of water, sun protection, and a sense of adventure!
As always, it is advisable to hike with a companion and let someone know about your plans.
Also, be sure to practice Leave No Trace, ensuring that the pristine beauty of the trail is preserved for future hikers.
And if you’re looking for more great hikes in the area, check out these guides:




Leave a Reply