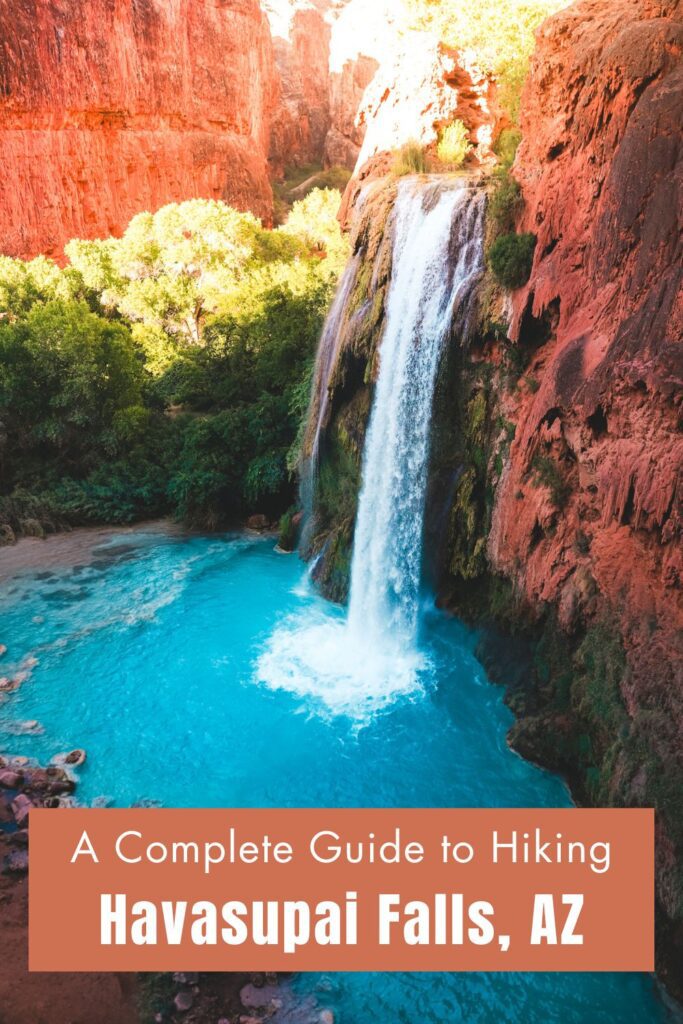
Havasupai is one of the most beautiful places on earth. Deep in the crevices of the Grand Canyon within the Havasupai Indian Reservation, you’ll find a hidden verdant oasis of aqua-blue waterfalls and thick groves of trees. To reach Havasupai, you will need to obtain a permit and be prepared for a 20-mile multi-day backpacking trip. It takes some effort, but it is more than worth it! This guide will outline everything you need to know before hiking to Havasupai Falls!
*Updated January 2026
*Disclaimer: This post contains affiliate links. If you book a stay through the link provided, we will receive a small commission at no extra cost to you. We really appreciate your support!
A Complete Guide to Hiking Havasupai Falls
Table of Contents
- How Do I Get a Permit for Havasupai?
- When is the Best Time to Go to Havasupai?
- What Do I Pack for Havasupai?
- How Do I Check In and Pick Up the Permits?
- Where is the Havasupai Trailhead located?
- Can I Reserve a Helicopter Ride?
- Can I Reserve a Mule to Carry My Bags?
- What to Expect When Hiking the Trail to Havasupai
- Final Thoughts on Hiking to Havasupai
How Do I Get a Permit for Havasupai?
Starting in 2024, the tourism office began offering an early access option where visitors can purchase tickets prior to the February release date for an additional fee.
The presale date for 2026 opens January 21 at 8 am and closes January 31 at 5 pm. The cost for an early access permit is an additional $40 per person.
Regularly priced permits are released on February 1 at 8 am Arizona time. There is a limited number of permits available, and they sell out quickly!
When booking, initially make a reservation for one person, and then you’ll have the option to add another booking. If you put more than one person at the beginning, it will say it is not available.
They have implemented a new booking software this year. You no longer need to set up an account before purchasing permits. There will be a link to set up your account and access your dashboard in the confirmation email.
You can purchase up to 12 permits at a time for the campground, but it will be harder to find available dates with a large group, so you’ll need to be more flexible.
You will need to designate a Trip Leader and up to 2 Potential Alternate Trip Leaders (PATL’s) when making the reservation. They are the only people who can pick up the wristbands for your group.
Previously, if you were unable to secure a permit on opening day, there was a cancellations page where you could purchase permits that had been previously canceled. As of 2026, the tribe announced that the transfer board has been discontinued.
The cost of a campground permit in 2026 is $455 per person for 3 nights. If you would like to stay in the Havasupai Lodge, each room sleeps up to four people, and the cost is $2,277 per room for 3 nights.
The tribe also updated its cancellation policy this year. You can cancel your permits up to 90 days before the first day of your trip and receive a 50% refund. You will not get any refund if you cancel within 90 days of your trip.
See the Havasupai Reservations website for more information. They also regularly update their Facebook Page with helpful information.
When is the Best Time to Go to Havasupai?
The best time to go to Havasupai depends on what you are looking for. If you want to swim in the waterfalls, then the summer months are the best time to go.
The water stays a chilly 70 degrees year-round, so you’ll want the air temperature to be warm enough that it is refreshing to swim and you won’t freeze when you get out of the water.
The disadvantage of the summer months is that it is extremely hot when you are hiking and sleeping. Monsoon season also occurs from mid-June through September, and flash flooding is a serious risk in the canyon.
If you aren’t planning to swim, then the cooler months are a great time to visit. It is comfortable hiking weather, but it can get quite cold at night, so you’ll need to pack extra layers and warm sleeping gear, which will add extra weight to your backpack.
Keep in mind that permits are available from February 1st through November 30th. The campground is closed to visitors in December and January.
I recommend going from May to the beginning of June or late September to early October. It is warm enough to swim, but not too hot to sleep or hike, as long as you plan to hike in the early morning hours.
What Do I Pack for Havasupai?
This question deserves its own post, so click the link for a detailed Havasupai Packing List.
If you don’t want to purchase the gear, you can rent individual items or a complete Havasupai package from Basecamp Outdoor Gear. They are conveniently located near the Harry Reid Airport if you are flying into Las Vegas.
If you are coming from Phoenix, you can rent gear from Lower Gear in Tempe.
How Do I Check In and Pick Up the Permits?
The person who purchases the permits for the group is the designated trip leader and is the only person who needs to check in for the group.
The trip leader (or listed PATL) must bring an ID when checking in, and they will be responsible for filling out an entrance form and picking up the wristbands and bag tags for the whole group. Each person in your group will need to wear a wristband the entire time in the canyon.
Be sure to read ALL the information in the FAQ section and check the dashboard for updated information.
You will also need to print out the campground reservation confirmation to display on the dashboard of your car at the parking lot.
There is a Havasupai Reservation boundary checkpoint about 5 miles from the trailhead where you will need to show the required paperwork. Security sometimes monitors the campgrounds and waterfalls as well to check for wristbands.
To pick up the permits, the trip leader will need to check in at the Grand Canyon Caverns Inn between Peach Springs and Seligman on Route 66 at Mile Marker 115. There is a sign at the front desk of the motel directing you where to go.
You can check in anytime between 8 am and 5 pm the day before your hike, or between 8 am and noon on the day of your hike.
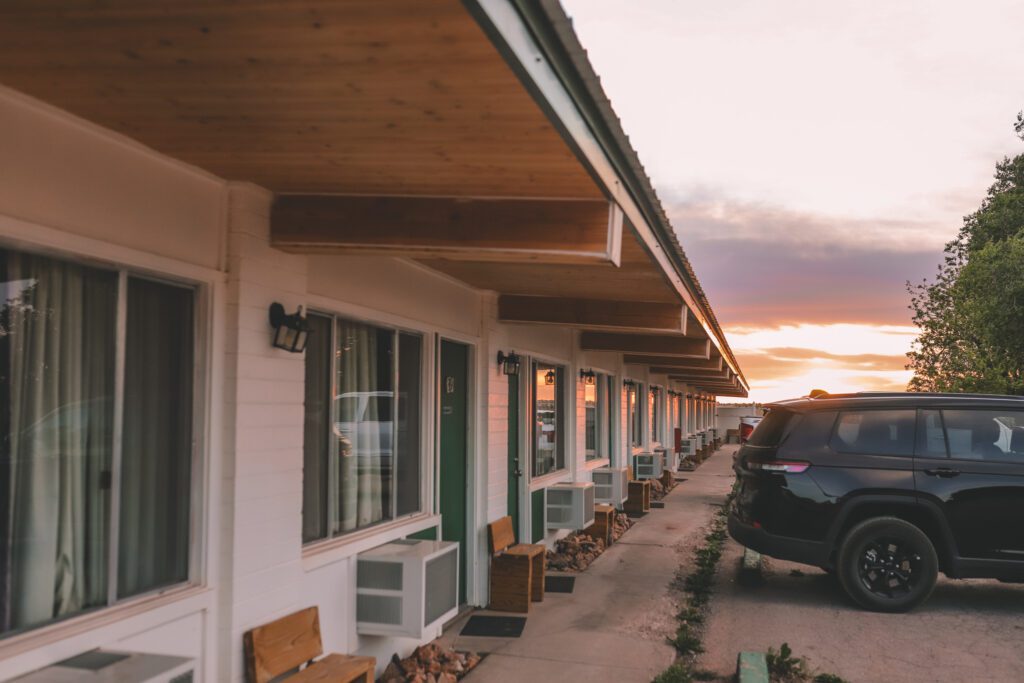
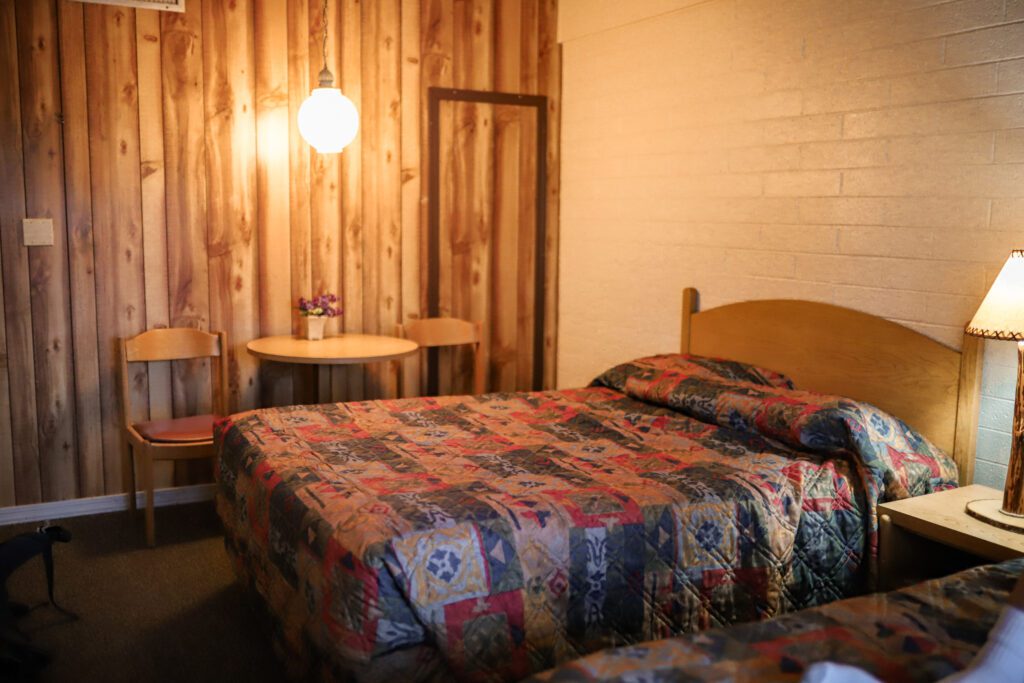
I highly recommend picking them up the day before so that you can start hiking early in the morning. You are not permitted to sleep in your car at the trailhead, so I would book a room at the Grand Canyon Caverns Inn, where the permit check-in is located.
The rooms are basic, but it is the closest motel to the trailhead, which is still about 1 hour and 15 minutes away.
The rooms sell out fast, so I would book in advance. If they are sold out, there are a few different hotel options in Seligman, an additional 25 minutes away.
If you have time, the Grand Canyon Caverns are actually a fascinating roadside attraction. These are the largest dry caverns in America, and you can take an elevator 21 stories below ground to tour the caverns.
You can even dine in a subterranean restaurant at the Cavern Grotto, or sleep in an underground cave in the Cavern Suite.
The only dining option around is the Caverns Grill. We ordered burgers, and they were surprisingly delicious, and the portion sizes were generous. The grill closes at 8 pm, so be sure to fuel up before your big hike the next morning!
Where is the Havasupai Trailhead located?
The Havasupai Trail begins at the Hualapai Hilltop Trailhead. It is about 1 hour and 15 minutes from the Grand Canyon Caverns Inn, where the check-in is located.
The trailhead is about 4 hours and 15 minutes north of Phoenix and 3 hours and 40 minutes east of Las Vegas, where you’ll find the nearest airports.
The Havasupai Indian Reservation is located in the Grand Canyon, but it is outside the boundaries of Grand Canyon National Park. If you are planning to visit Grand Canyon National Park while you are in the area, see our guide How to Spend One Day at the Grand Canyon for tips and recommendations.
The trailhead is in a remote location, so be sure to gas up before you go. If you are coming from Las Vegas, Kingman is the closest city, and Peach Springs has the closest gas station. If you are coming from Phoenix, Flagstaff and Williams are the closest cities, and Seligman has the closest gas station.
The parking lot is rather small to accommodate so many vehicles, so you may have to park alongside the road. Restrooms are located at the top of the trail. These are the only restrooms for the next 8 miles, so make sure you go!
Can I Reserve a Helicopter Ride?
If you are nervous about the hike, there is an option to take the helicopter.
A new company, One Span Power, took over the helicopter operations at Havasupai for 2026. The cost has gone up significantly, however, it does seem to be a little more reliable and organized than in years past.
You now have the option to reserve a ride in advance by emailing Supai@onespanpower.com. The cost for a reserved flight is $250 per person + $50 per bag each way.
Even with a reservation, the locals still get priority, and you will still need to wait in line.
You can also show up the morning of and put your name on the first-come first-serve list. The cost is cheaper at $150 per person +$50 per bag each way, but you will need to wait longer.
If you are flying out of the canyon, check-in begins at the helipad at 7 am. The locals and supplies will fly out first. Those who have reserved a spot will be next in line, followed by the first-come first-serve list.
The helicopter can fit 4-6 people, and each trip takes about 15 minutes round-trip. Even with a prepaid reservation, you could still be waiting for a few hours. People begin lining up pretty early, so you’ll want to get in line at least an hour or even two before check-in.
Can I Reserve a Mule to Carry My Bags?
Another option that will help make the hike a little easier is to reserve a mule to carry your packs (no, they will not carry YOU down, just your bags).
The cost is $400 roundtrip, and they can carry up to 4 bags with a maximum weight of 32 lbs per bag. If you are visiting with other people, you could split the cost of a mule since they can carry multiple bags.
You will see the option to reserve the mule when purchasing your permits.
Just keep in mind that you will still need to carry your bags from the drop-off point near Havasu Falls to your campsite. This can be up to a mile, but there are wheelbarrows available to use.
The bags will be dropped off at camp around noon when you arrive, and can be picked up at the top around noon when you leave (the time varies). If you do plan to use the mules, you won’t be able to set up camp until they arrive. If you hike out early on your last day, you may also have to wait for your bags at the top for a few hours before driving home. Just a few things to consider.
If you do plan to use the mules, be sure to still bring a day pack to carry water and snacks. It is recommended that each hiker carry one gallon of water. We each carried 2 of these water bladders in our backpacks and added electrolyte powder to the water to help prevent dehydration.
What to Expect When Hiking the Trail to Havasupai
From Hilltop, the trail to the Supai Village is 8 miles. It is an additional 2 miles from the village to the campground, so 10 miles total.
If you are hiking in the warmer months, you will want to start your hike early in the morning to avoid hiking in the heat. We left our room at Grand Canyon Caverns Inn at 3:30 am and were on the trail by 5 am, and it was perfect.
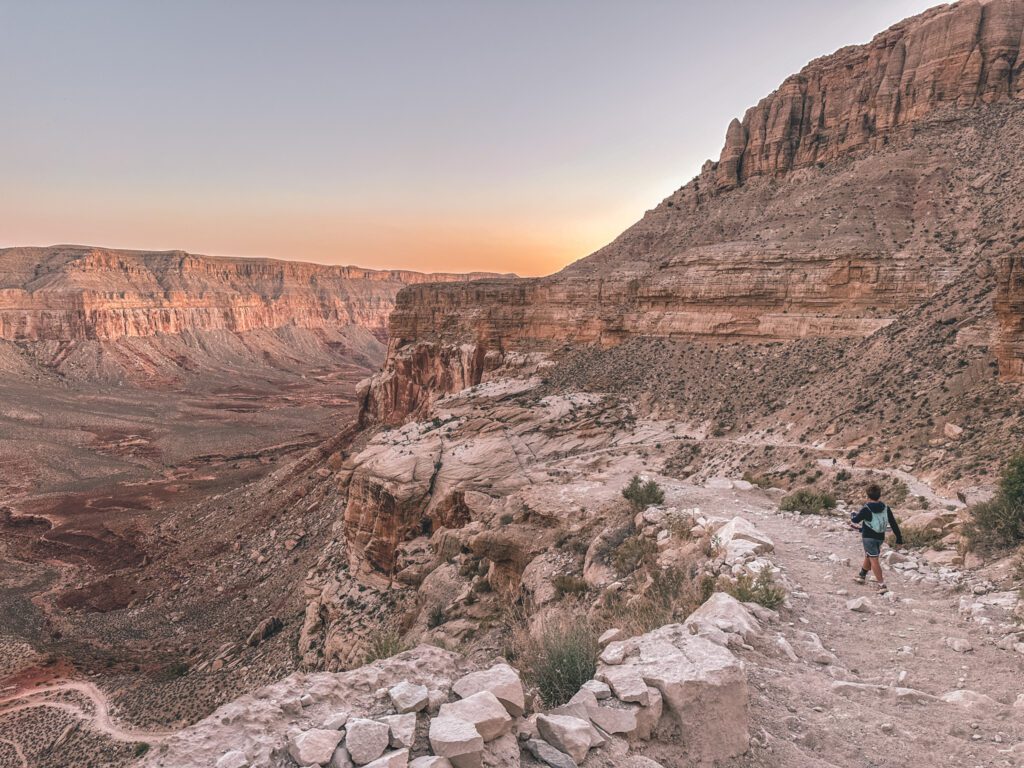
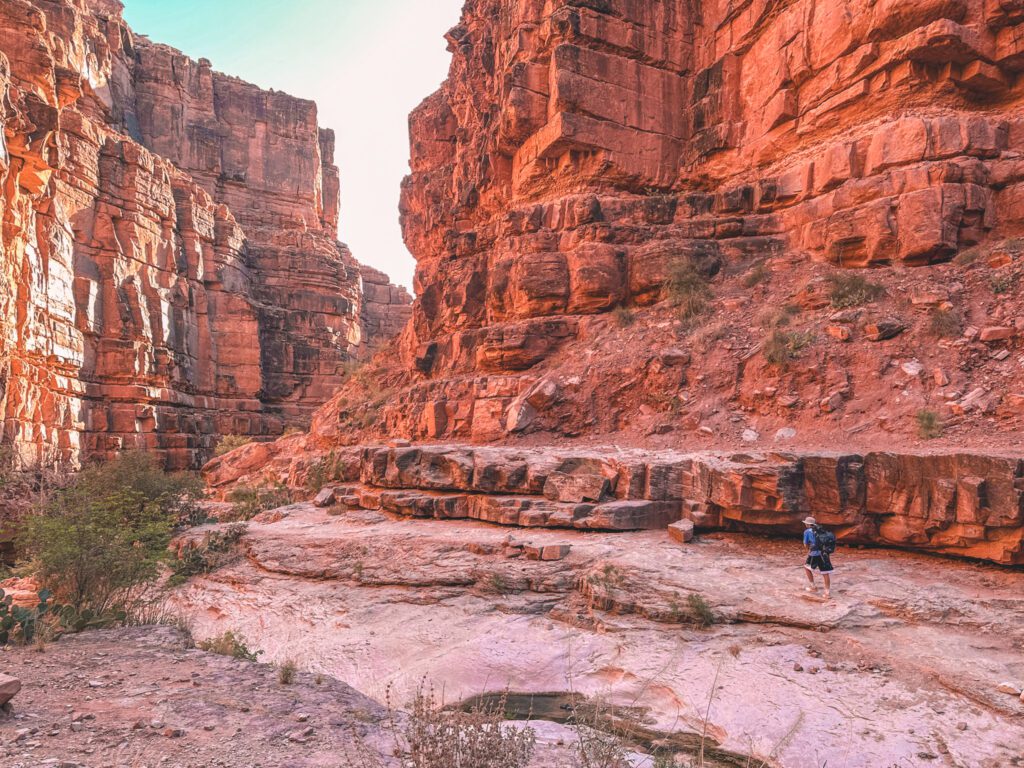
The beginning of the trail is down a series of steep switchbacks with uneven terrain. I recommend using hiking poles to help reduce the impact on your knees and to keep your footing over the loose rocks.
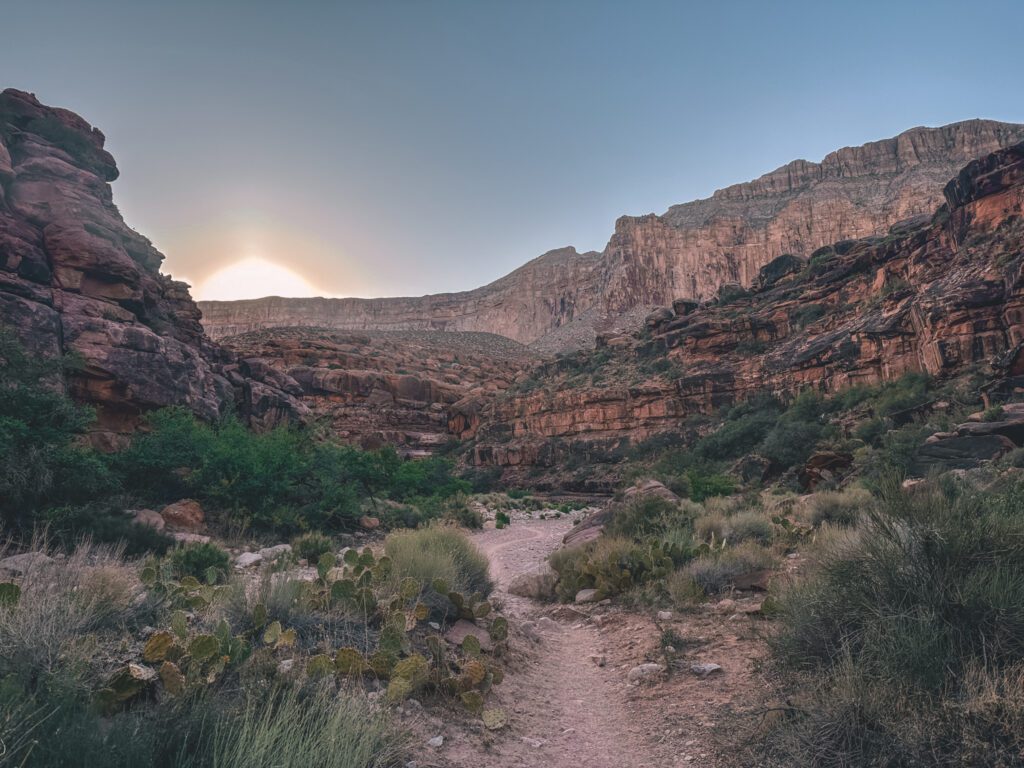
The switchbacks are about a mile long, but the trail continues downhill for approximately another 1/3 mile. Once you reach the bottom, it is relatively flat for the next 6 1/2 miles or so until you reach the Supai Village.
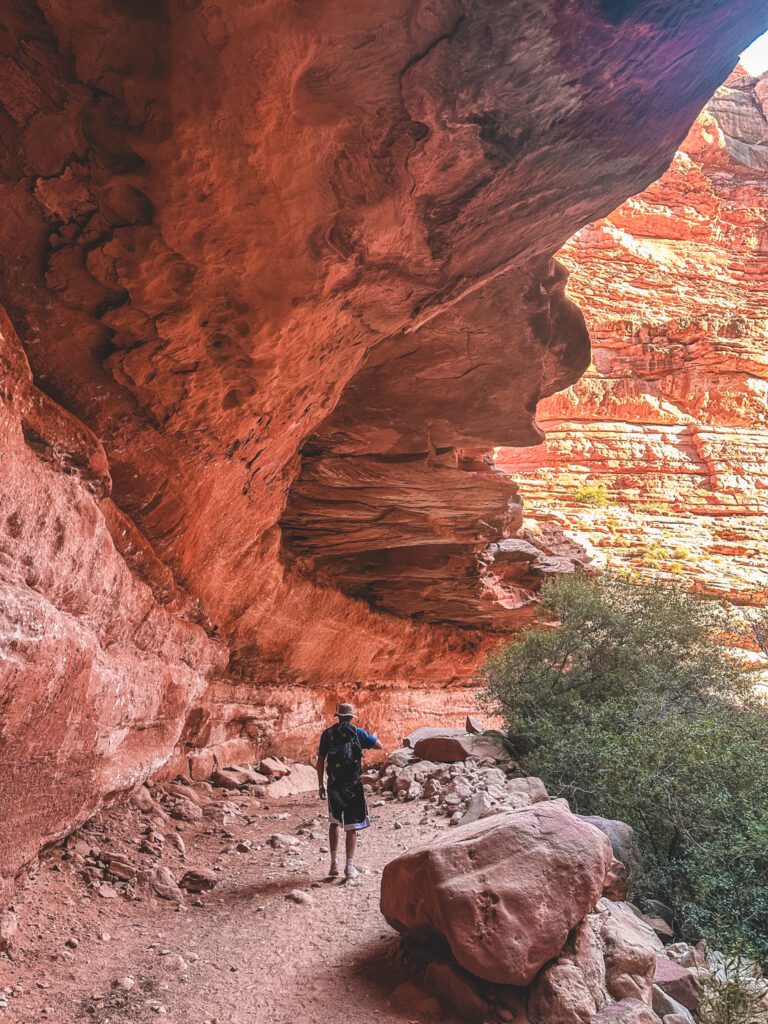
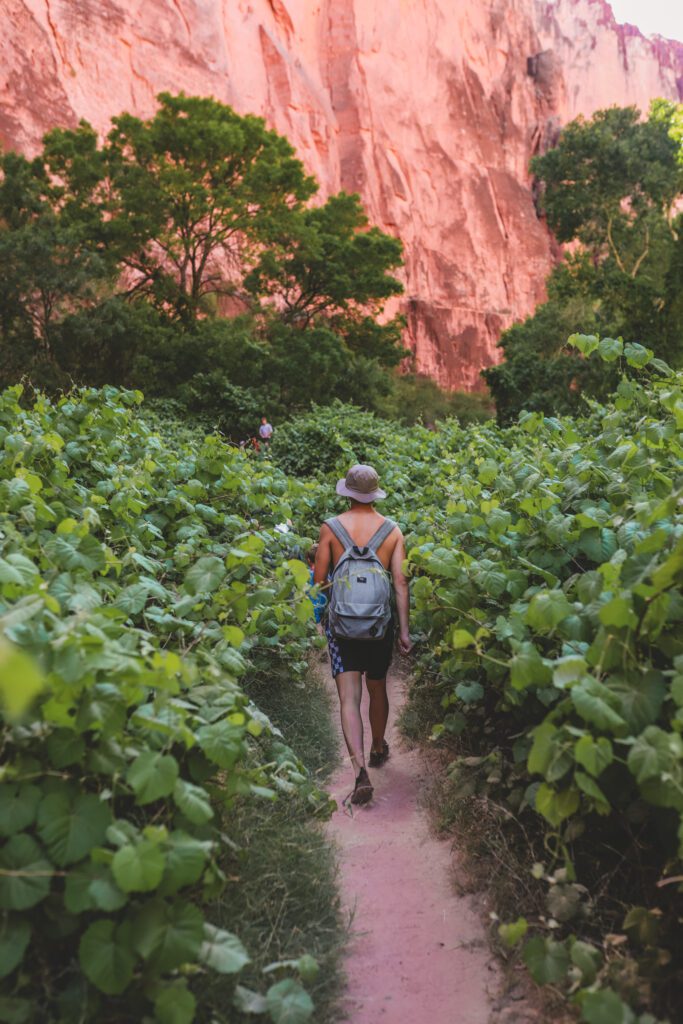
I was pleasantly surprised at how beautiful the trail was, especially in the early morning light.
I was initially dreading the hike, but I just put on an audiobook and cruised along, and it was actually pretty enjoyable.
If you do wear earbuds to listen to music or an audiobook, only put one side in so that you can keep an ear open to listen for rattlesnakes or a mule pack coming up from behind.
Rattlesnakes are common in the canyon, so always stay alert. The mules will also run you over, so be sure to watch out for them and step to the side of the trail to let them pass.
The trail down is not too difficult since it is mostly flat, but it is a lot of mileage, which will make your legs sore if you’re not used to long hikes. Try to fit in some longer hikes prior to your trip in order to help strengthen your legs and get them used to it.
The trail back up will obviously be more challenging. It is uphill for the first two miles from the campground to the village, and the last mile or so of switchbacks is pretty tough.
I would just plan to leave early enough that you can hit the switchbacks before it gets too hot. We left the campground at 3:30 am and were out of the canyon before 7:30 am. We had shade the entire time and finished the hike before it got too hot.
It took us 3 hours and 40 minutes to hike down (not including our stop at the village) and 3 hours and 47 minutes to hike up. We didn’t have heavy packs, and we were hiking in the shade, which really helped. The average hiking time is closer to 4-5 hours. Just take your time and go at your own pace.
Supai Village
After 8 miles, you’ll come to the Supai Village. Photos and videos are not allowed in the village out of respect for the locals.
It is so fascinating to see an entire village complete with homes, a school, a police station, churches, a motel, a store, and a cafe built at the bottom of such a remote canyon. The logistics of hauling in the building materials is mind-boggling!
If the cafe and store are open, it’s a great place to grab a snack and drink while you take a little rest break.
The cafe sells burgers, fries, and Navajo Tacos. The store is similar to a gas station convenience store with a selection of snacks, drinks, and ice cream, along with a few essentials. They do accept credit cards with a minimum purchase of $10. There are also outdoor restrooms adjacent to the store.
If you made reservations to stay at the Havasupai Lodge instead of the campground, it is located in the Supai Village. It is only an 8-mile hike to the Lodge, but you’ll be hiking a lot further each day if you want to visit the waterfalls.
Upper Falls
The last two miles from the village to the campground are mostly downhill. After about a mile, you will pass the Upper Falls on the left side of the trail.
*UPDATE: The major flash flood in June 2025 significantly affected the upper falls. These photos were taken in June 2024, so they may look different now.
Fifty Foot Falls
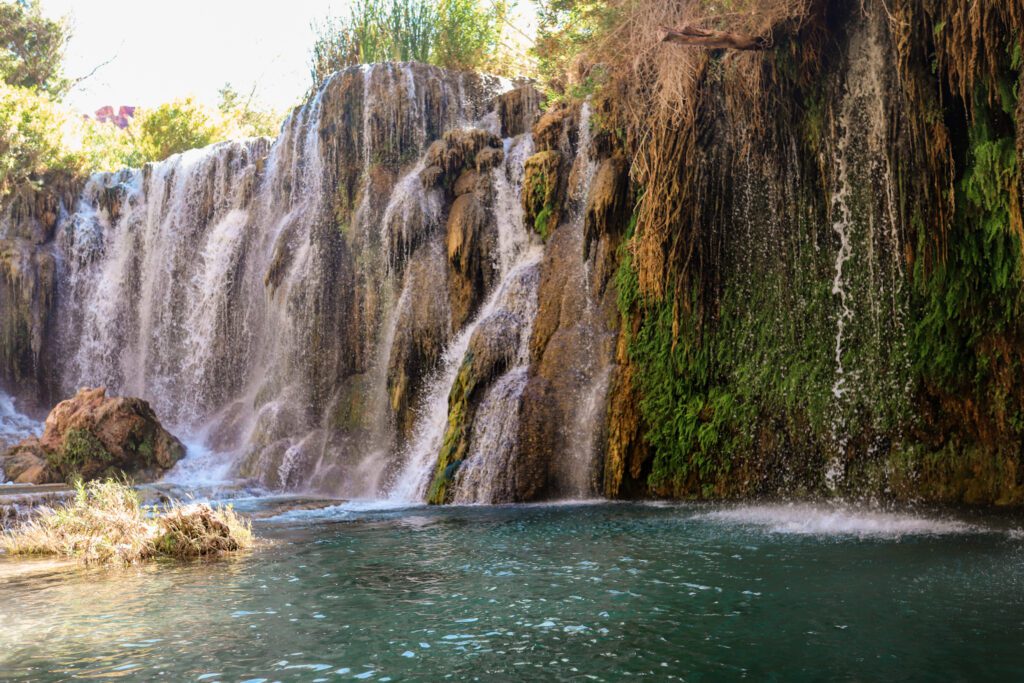
Fifty Foot Falls is the first of this series of waterfalls. If you want to cool off with a little dip, you’ll need to scramble along a path down the hill, then wade through waist-deep water to reach the falls.
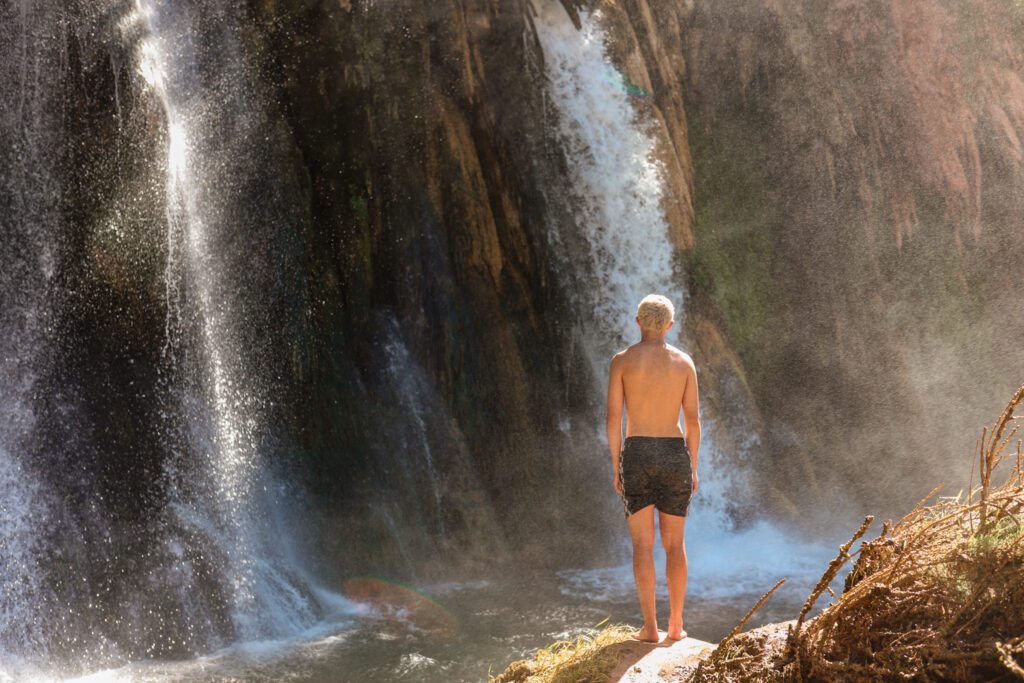
It is a beautiful set of waterfalls stretching across the face of the cliff. You can swim under and even behind these waterfalls. There is a small rock island where you can keep your packs while you swim.
Little Navajo Falls
If you follow the path downstream along the river’s edge, you’ll reach Little Navajo Falls.
This little oasis is surrounded by water flowing down from all the surrounding cliffs. It’s a peaceful area that isn’t nearly as crowded as the other waterfalls.
Havasu Falls
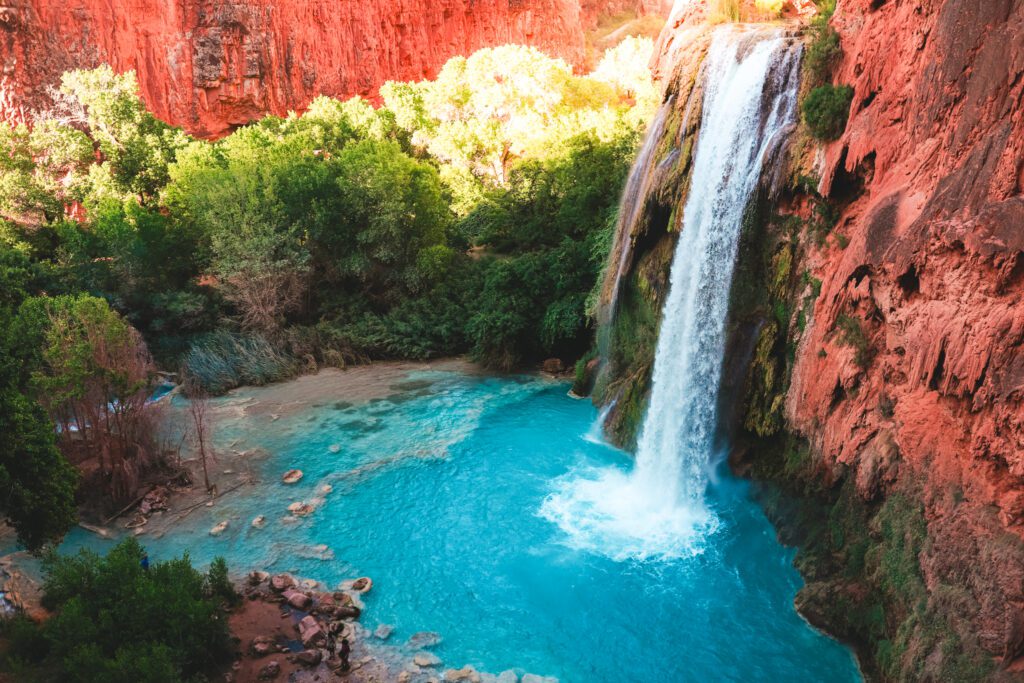
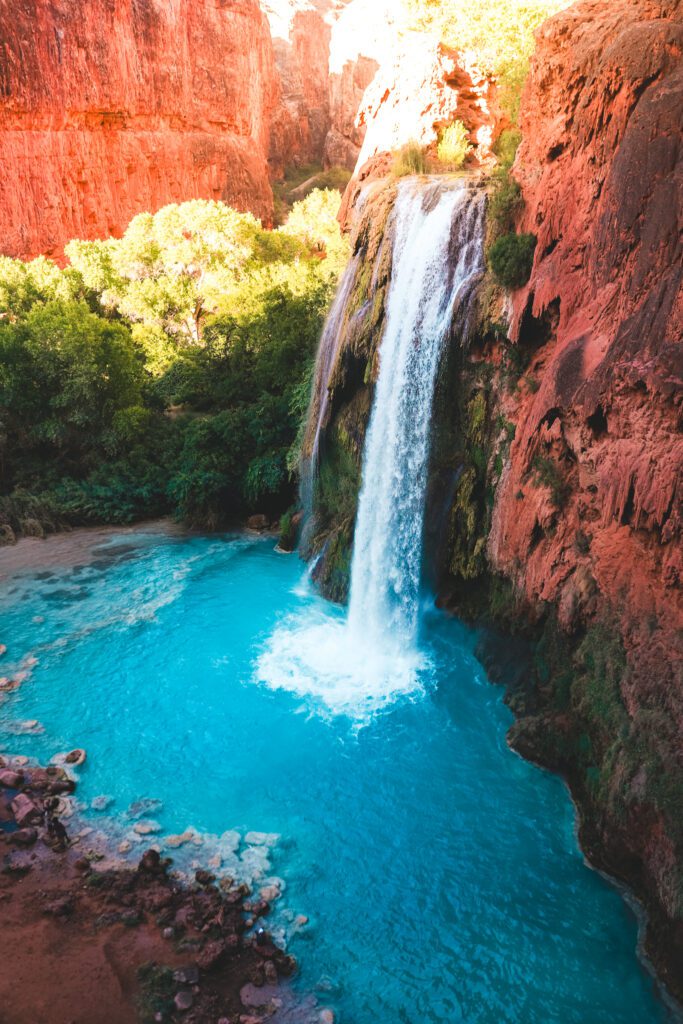
Just before the campground, you’ll come around the bend and catch your first glimpse of the iconic Havasu Falls.
“Havasupai Falls” refers to all of the waterfalls within the Havasupai tribal lands, but Havasu Falls is the most well-known of all the waterfalls.
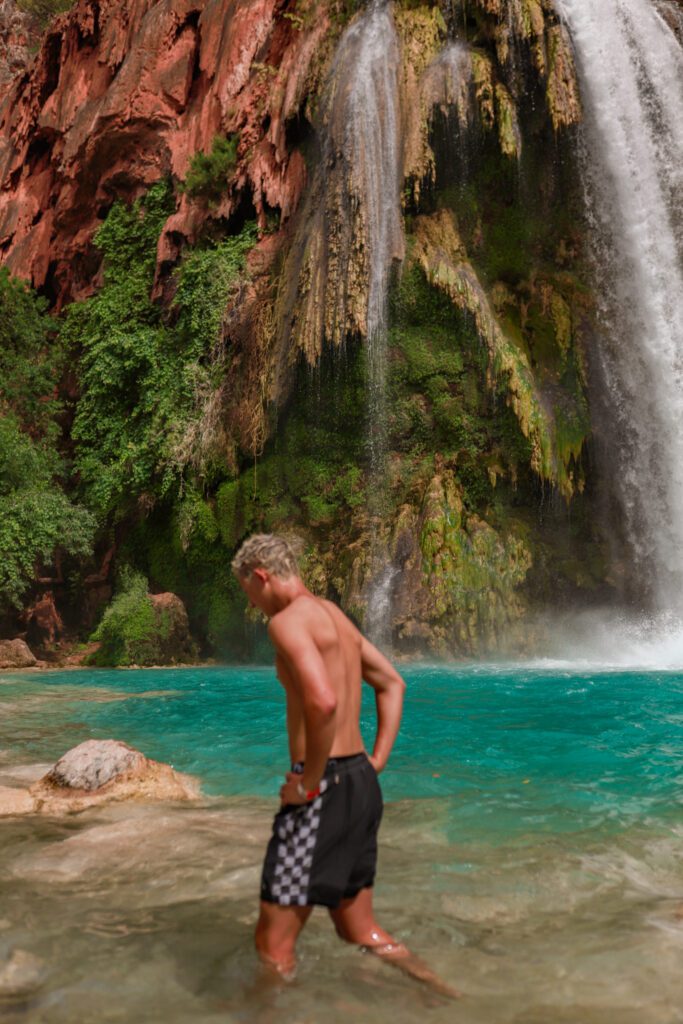
The vibrant blue waterfall stands in stark contrast to the surrounding red rocks and pops of green foliage. It truly is breathtaking to witness it in person.
There is a frybread stand at the top of the waterfall. The hours are unpredictable, so if it is open you definitely need to stop! The frybread is unbelievably delicious, and almost worth the 10-mile hike alone!
They only accept cash and prices vary from $16 for a beef Navajo taco to $10 for the sweet frybread. You’ll want to stop a few times during your trip, so be sure to bring enough cash.
Once you’re at the bottom of the falls, you can jump in and take a refreshing swim. There is even a little hidden cave that lets you get right behind the waterfall.
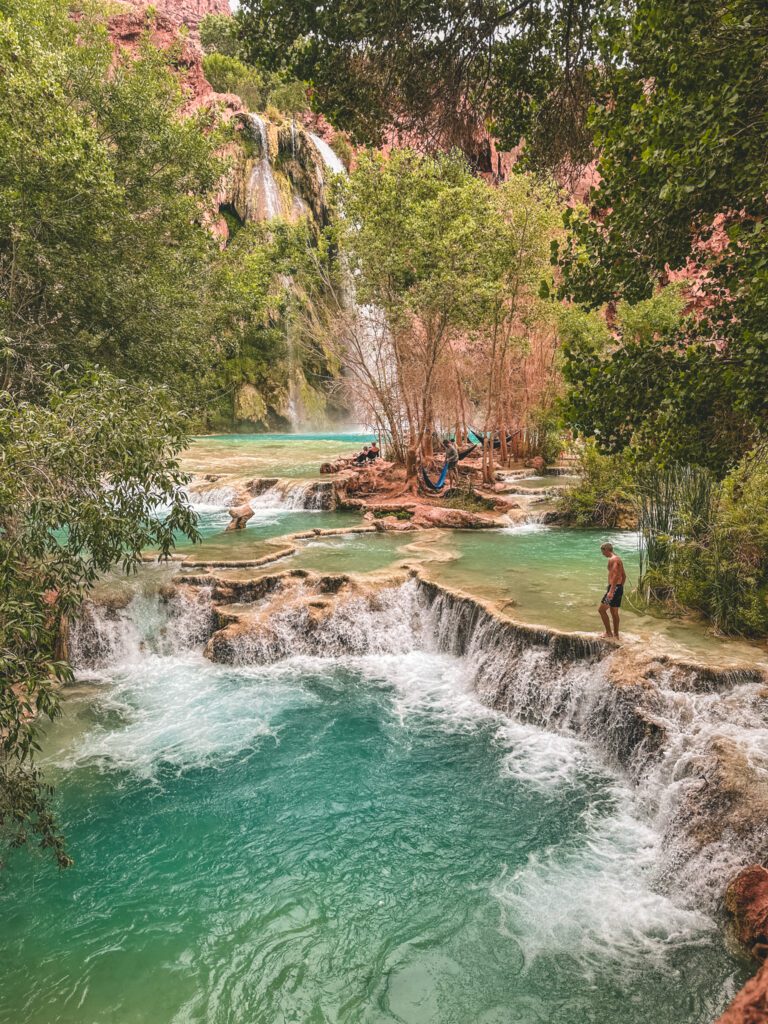
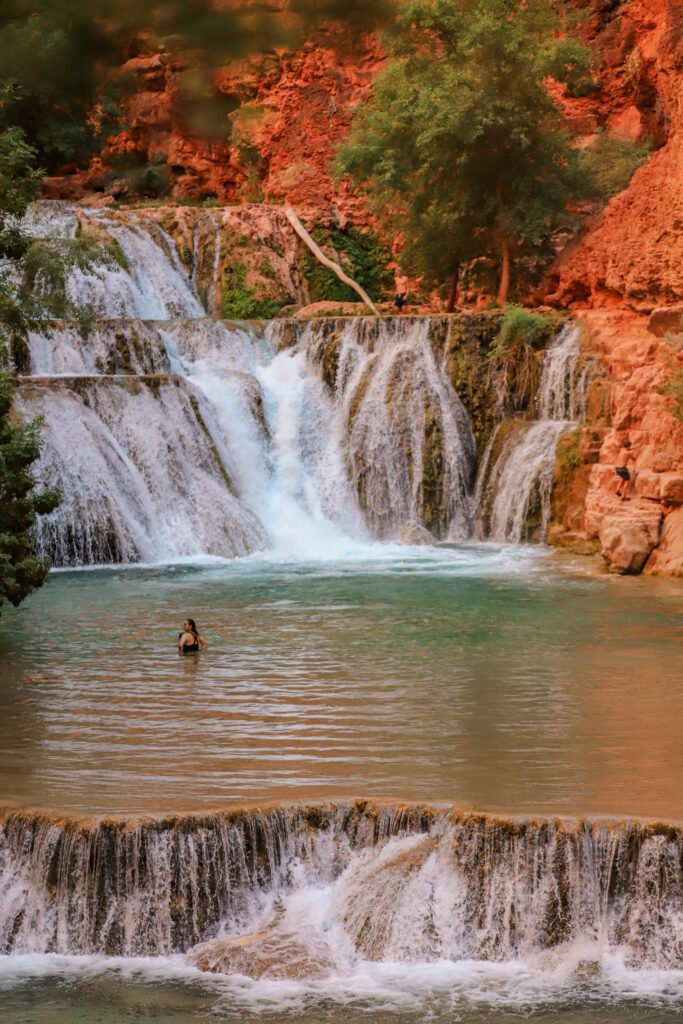
Just downstream from the waterfall is a picturesque swimming hole with small tiered waterfalls.
It’s one of our favorite spots to escape the crowds and swim. There are so many hidden gems like this all along the creek.
To make the most of your time at Havasupai, we have put together A Detailed 4 Day Havasupai Itinerary that will help with your planning.
Havasupai Campground
The Havasupai Campground stretches about 1 mile from the bottom of Havasu Falls to the top of Mooney Falls.
Campsites are available on a first-come first-serve basis and cannot be reserved in advance. The campground accommodates up to 350 people per night.
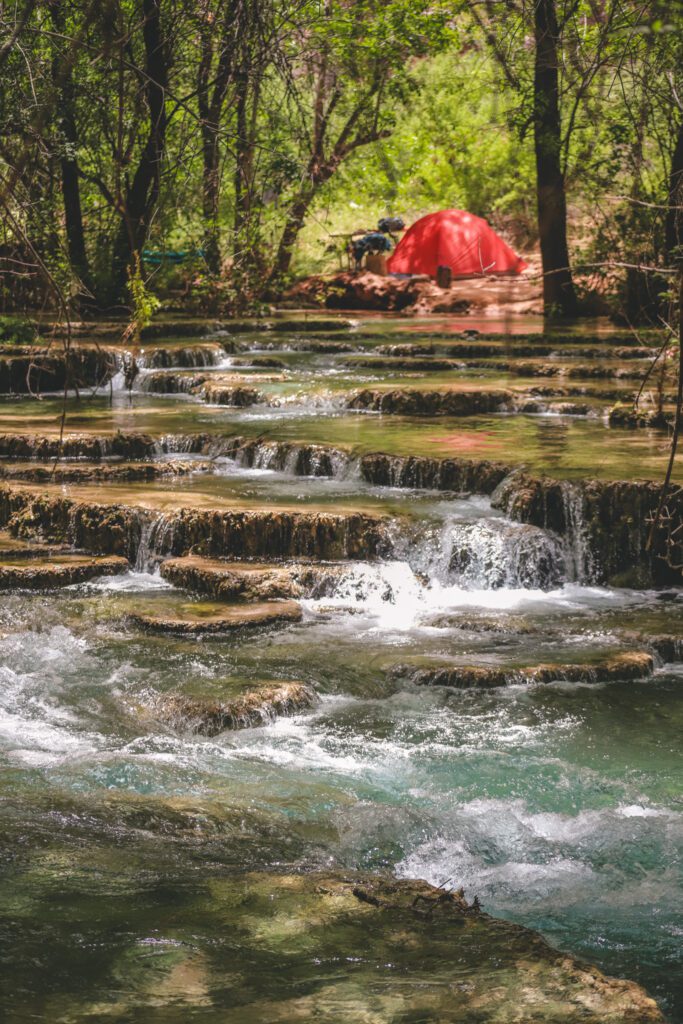
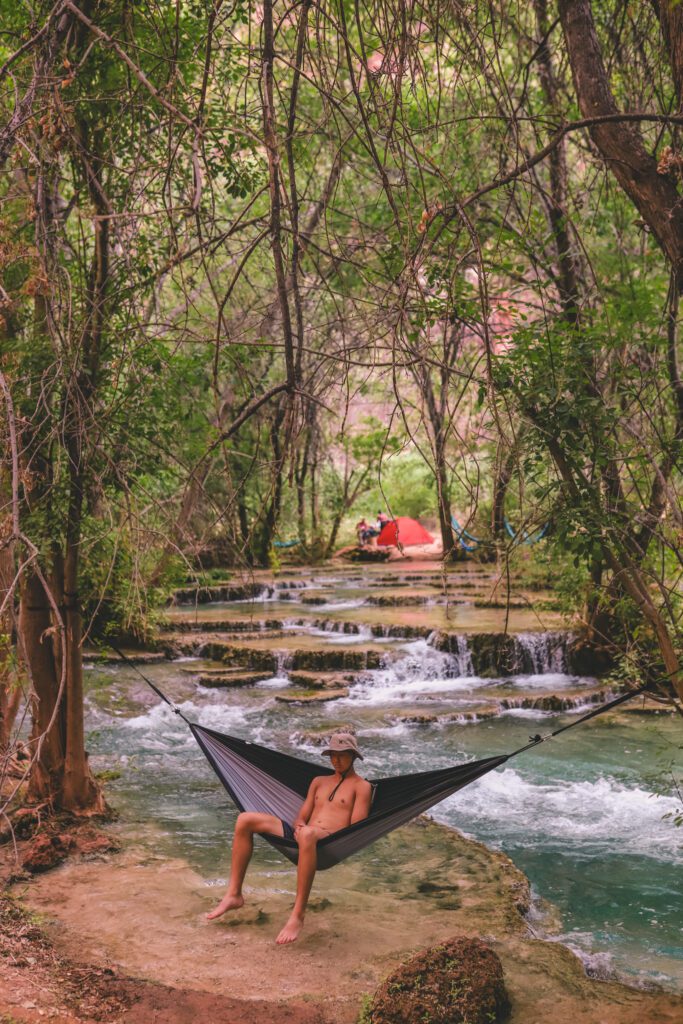
The sites are spread along the banks of the beautiful Havasu Creek. You can snag the first campsite you come to, but the most scenic campgrounds are after the second and third bathrooms.
We found the dreamiest campsite just after the third bathroom and across the creek.
There are certain advantages and disadvantages of where you stay in the campground. If you stay at the beginning of the campground, you will be the closest to the freshwater spring.
Fern Spring is the only source of drinking water in the canyon. We didn’t filter the water and were fine, but just after our stay in June 2024, there was a mysterious illness that plagued hundreds of people in the campground.
The source has not been identified, but there is a good chance that the drinking water was contaminated. It would be best to use a water filter bag for the spring water just to be safe.
If you are staying further from the spring, you will want a collapsible water cube to store water at your campsite for cooking and drinking. Wheelbarrows are located throughout the campground and are helpful when carrying the water jug back to your camp.
If you stay at the beginning of the campground, you will also have a shorter hike in and out. If you stay at the end of the campground, it will add almost another mile onto each leg of your trip.
However, if you stay at the end of the campground, you will have a shorter hike to Mooney Falls, Beaver Falls, and the Confluence.
There are 3 sets of bathrooms located along the path through camp. Each one has 3 toilets, so with 9 toilets between roughly 350 campers, you can expect to sometimes wait in line and for the toilet paper to run out. Be sure to bring your own toilet paper and hand sanitizer.
There are no shower facilities, so if you plan to wash off in the river, only use biodegradable soap like Campsuds.
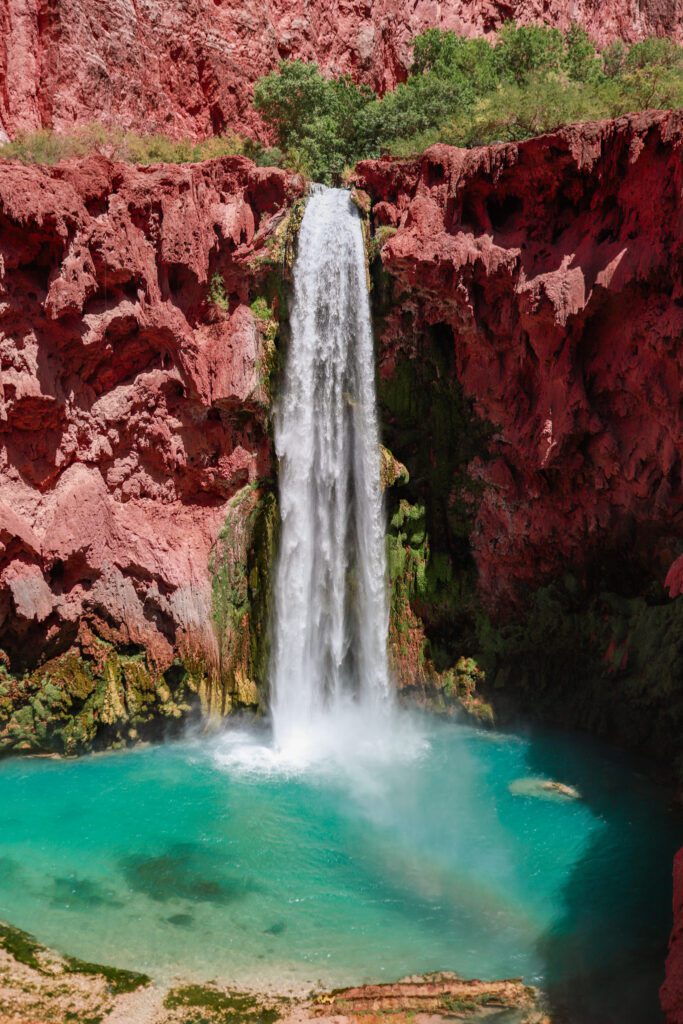
Mooney Falls
Mooney Falls is located just after the end of the campground. It is a bit of an adventure to reach the base of the waterfall.
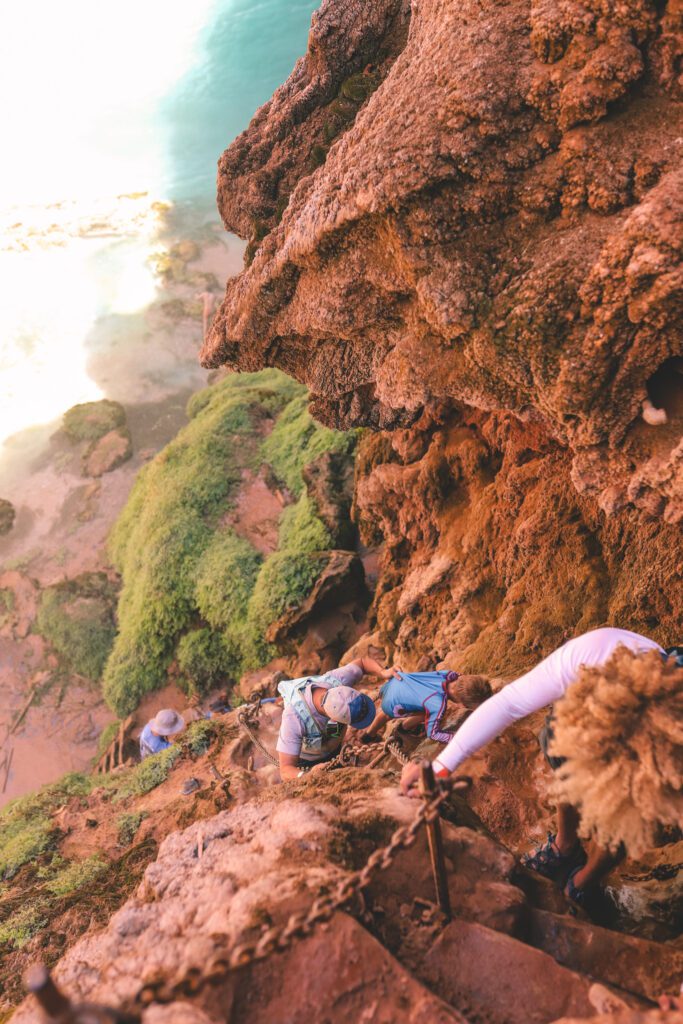
You’ll need to squeeze through a rock tunnel and then carefully navigate down a steep cliff using the help of chains.
The powerful mist makes everything slippery, so be sure to go slow and always maintain three points of contact while going down.
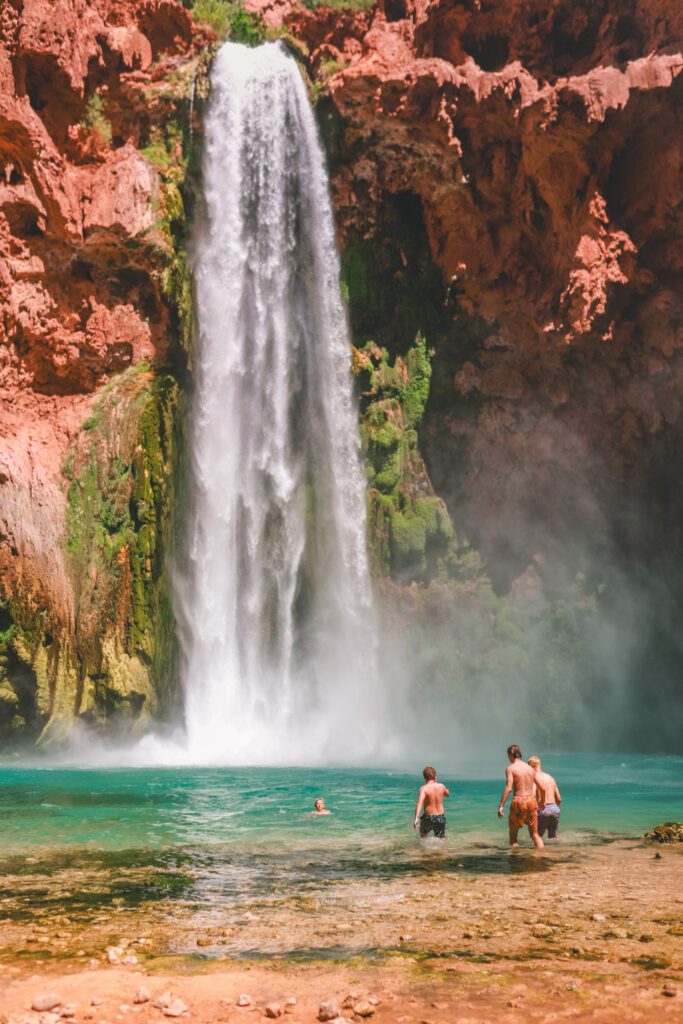
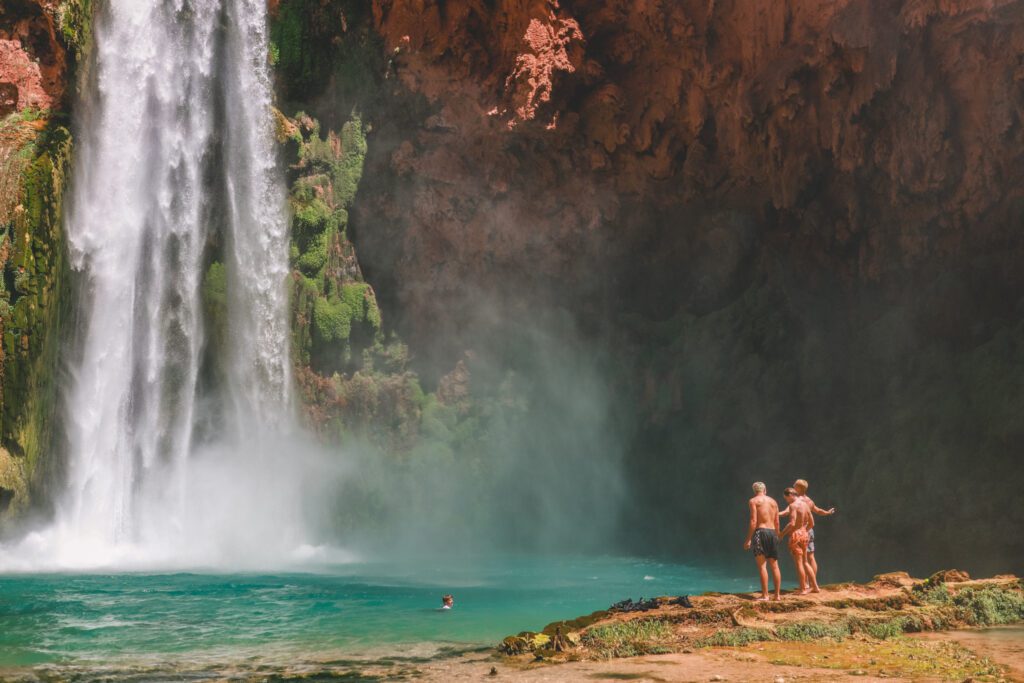
Mooney Falls is the largest of the Havasupai waterfalls. It is nearly 200 feet tall, which is about twice the size of Havasu Falls. The thundering blue waterfall is absolutely incredible and will leave you awestruck.
You can swim in this waterfall as well, and there is even a rope swing at the mouth of the river.
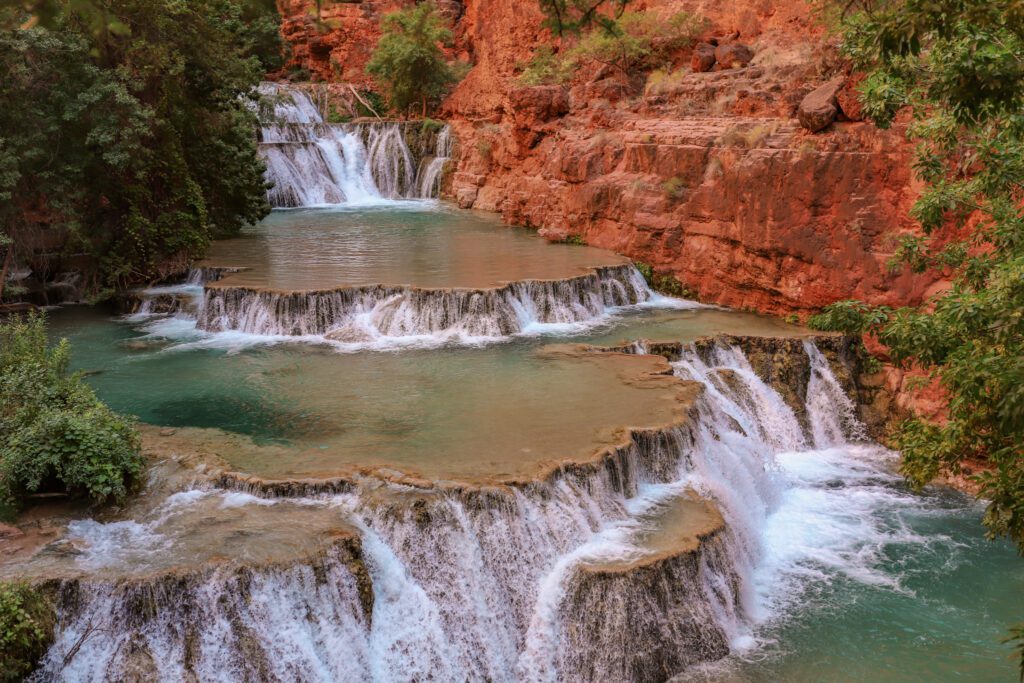
Beaver Falls
Beaver Falls is my personal favorite waterfall. To reach it, you’ll need to hike about 2 miles from Mooney Falls.
The trail is stunning as you cross over the river several times, hike through a vine-covered valley nicknamed “the jungle”, walk through a tunnel to the “Lone Palm” oasis, and climb up and down several ladders.
You will want to wear durable water shoes for this hike and wear socks so that your skin doesn’t get rubbed raw from the wet shoes. Personally, I love these Chaco sandals, but Teva and Keen also make great water shoes. Any socks will work, but neoprene socks are best.
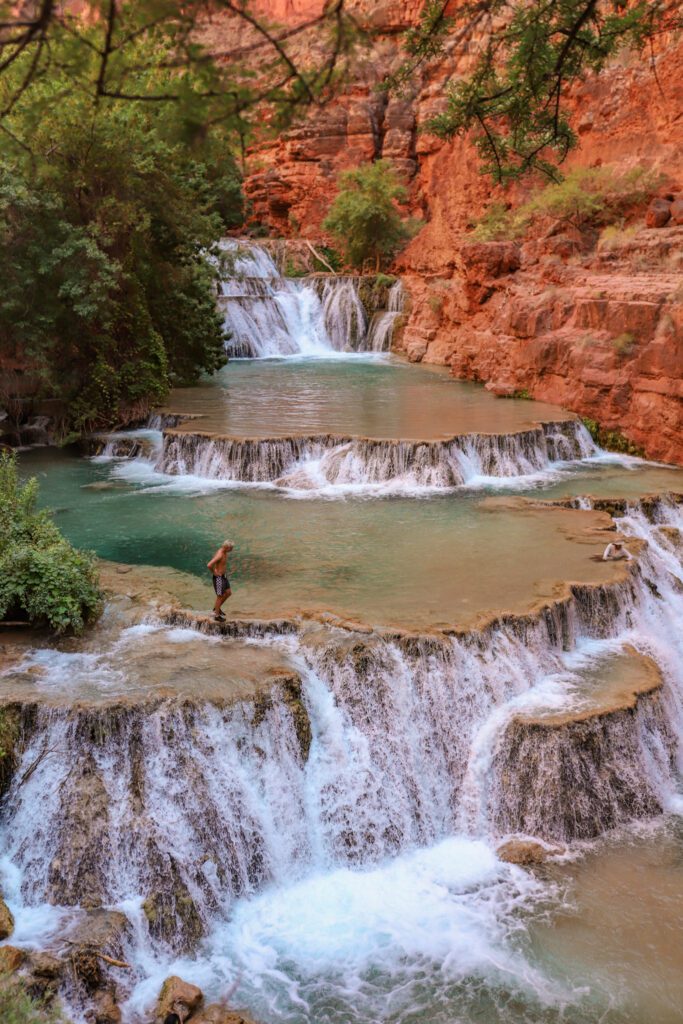
When you finally catch your first glimpse of the picturesque multi-tiered waterfall, it will take your breath away.
It’s the perfect spot to relax and swim without a care in the world. I recommend coming early in the morning or later in the afternoon to avoid the crowds.
The Confluence
The Confluence is another 5 miles or so down the river from Beaver Falls. This is where the blue water of Havasu Creek intersects with the muddy water of the Colorado River.
We didn’t make it down there, but I have heard it is an amazing hike and well worth it. Next time!
Final Thoughts on Hiking to Havasupai
I did this trip with my 15-year-old son, and it is a trip we will always remember!
It is such a special place filled with so much beauty. The waterfalls are the main attraction, but I couldn’t get over just how beautiful the entire canyon is.
If you do plan to visit, just make sure you are fully prepared with the proper equipment and supplies and are physically fit enough to handle the hike.
As always, practice Leave No Trace and do your part to preserve the natural beauty. You will need to pack out all of your garbage, so be sure to bring a garbage bag with you. Remember that you are a guest on the Havasupai tribal lands. Be respectful so that they will continue to invite visitors in the future.
I hope this guide has helped as you plan your Havasupai Falls backpacking trip!
CLICK THE BUTTON TO DOWNLOAD AND PRINT THIS GUIDE:
Pin it for later:


Leave a Reply