Backpacking to Havasuapai Falls in Arizona has been at the top of our bucket list for years, and it was a dream come true when we finally made it happen! This trip requires a lot of planning and preparation beforehand, including securing permits, gathering and packing the right equipment, and so much more. However, it is also important to plan how you are going to spend your days at Havasupai. This detailed itinerary will help you make the most of your short time there!
*Updated January 2026
*Disclosure: This post contains affiliate links. If you book a guide through the link provided, we will earn a small commission at no extra cost to you. Thank you for your support!
How to Spend 4 Days at Havasupai, Arizona

Table of Contents
- Pre-Hike: Drive to Peach Springs, Pick up Permits, Stay at Grand Canyon Caverns Inn
- Day 1: Hike to Havasupai, Set up Camp, Afternoon Swim at Havasu Falls
- Day 2: Hike to Mooney and Beaver Falls (and Possibly the Confluence)
- Day 3: Swim in the Upper Falls
- Day 4: Hike Out
Pre-Hike: Drive to Peach Springs, Pick up Permits, Stay at Grand Canyon Caverns Inn
Your Havasupai adventure actually begins the day before your hike. The trip leader is required to check in at the Grand Canyon Caverns Inn in Peach Springs and pick up the wristbands for everyone in your group.
Check-in is between 8 am and 5 pm the day before your hike, or between 8 am and noon on the day of your hike. The best option is to check in the day before so that you can get an early start the next morning.
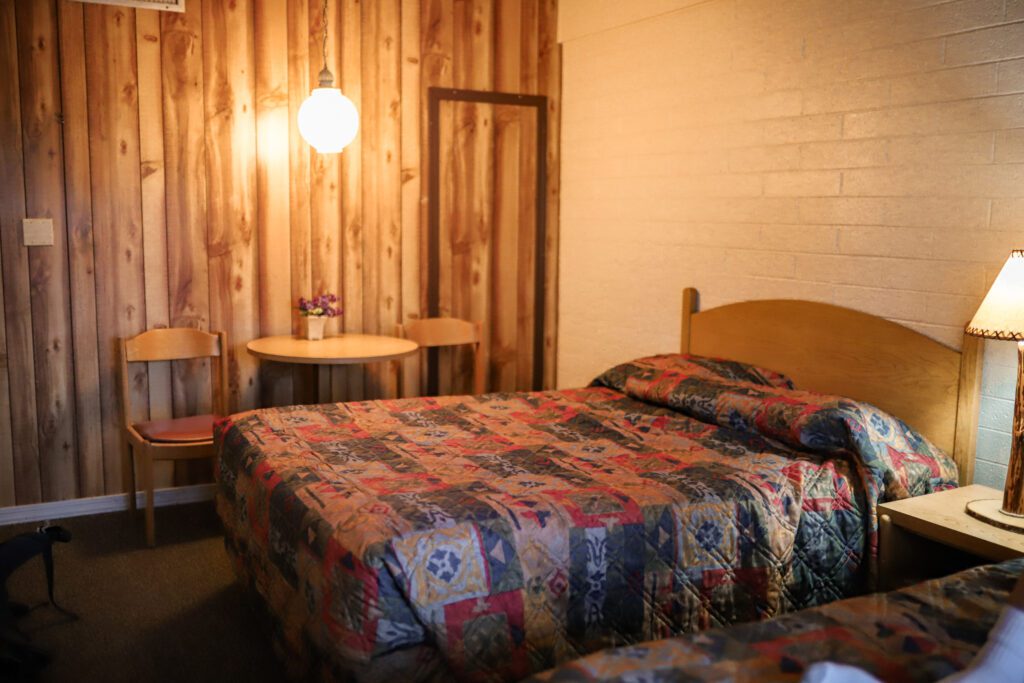
If you are planning to check in the day before, I recommend booking a room at the Grand Canyon Caverns & Inn.

Overnight camping is not allowed in the Hualapai Hilltop parking lot, and this is the closest hotel to the trailhead. The rooms are very basic and overpriced for what you get, but it is the most convenient option.
The rooms get booked up quickly, so make reservations in advance.
The Hualapai Lodge is about 15 minutes away, and there are also a few more hotels about 25 minutes away in Seligman.
Dining options are also very limited. We grabbed burgers at the Caverns Grill about a mile from the hotel.
For a unique experience, make reservations at The Crystal Restaurant. This subterranean restaurant is located in the largest chamber of an underground cave system. You can also book a cave tour to explore the largest dry cavern in America.
After dinner, get settled in for a good night’s sleep since you’ll have an early start the next morning.
If you would like more information about securing a permit and other frequently asked questions, see our post A Complete Guide to Hiking Havasupai Falls.
Day 1: Hike to Havasupai, Set up Camp, Afternoon Swim at Havasu Falls
Today is the day! We set our alarms early and were on the road by 3:30 am. We packed protein bars and protein drinks for a quick breakfast on the road.
Even though Grand Canyon Caverns Inn is the closest hotel to the trailhead, it’s still about a 1 hour and 15 minute drive. Once you get there, it will take a little bit to find parking, load up all your gear, double-check wristbands, leave the reservation confirmation page on your dashboard, and drop off bags for the mule if you chose that option.
If you are visiting in the warmer months, the goal is to be on the trail before 6 am so that you can beat the heat. We visited in early June and were on the trail by 5 am and it was perfect.
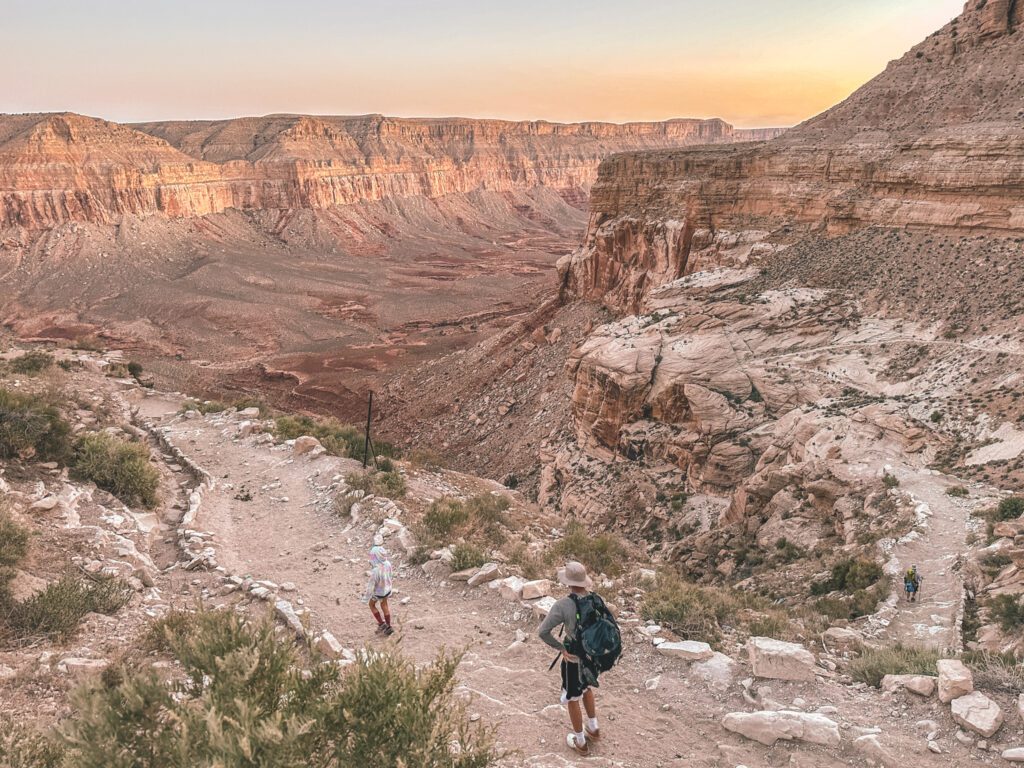
The 10-mile hike down to Havasupai is long, but not too difficult. The first mile or so is down steep switchbacks, but the rest of the trail is relatively flat.
Everybody talks about how beautiful Havasupai is, but nobody really talks about just how beautiful the trail to get there is. It was especially stunning and peaceful in the early morning light.
After about 8 miles, you’ll reach the Havasupai Village. This is a great spot to use the bathroom, take advantage of the town’s free wifi, pick up some snacks at the convenience store, or grab a bite to eat at the cafe.
Once you’re rested up, the last 2 miles to the campground are pretty easy and mostly downhill. Just don’t think about how the hike out won’t be quite so easy!
Just before you get to the campground, you’ll pass by Havasu Falls. Just one glance at this incredible waterfall will make the long hike worth it!
Once you reach the campground, campsites are first-come first-serve. Another advantage of getting an early start to your hike is that you’ll get first pick of the available campsites.
The campground is huge, it stretches for about 1 mile and can accommodate up to 350 people per night. The most scenic campsites are further along the trail close to Mooney Falls. However, the sites at the beginning of the campground are closer to the spring which provides the only drinking water in the campground.
You’ll also want to take into consideration the proximity to the falls. The sites at the beginning are closer to Havasu Falls, and the sites further down the trail are closer to Mooney Falls. I really don’t think there is a bad campsite anywhere in the campground, so it comes down to your personal preference.
As for the camping gear, I have put together a complete Havasupai Packing List with everything we think is necessary. I recommend checking the list, because there are probably a few things you might not have thought of!
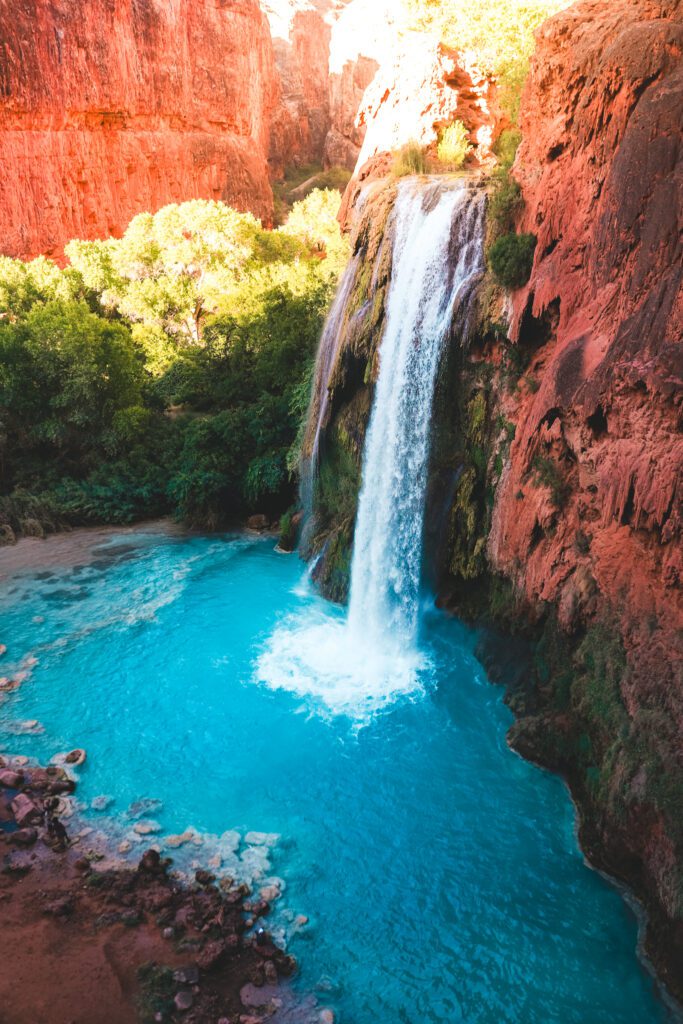
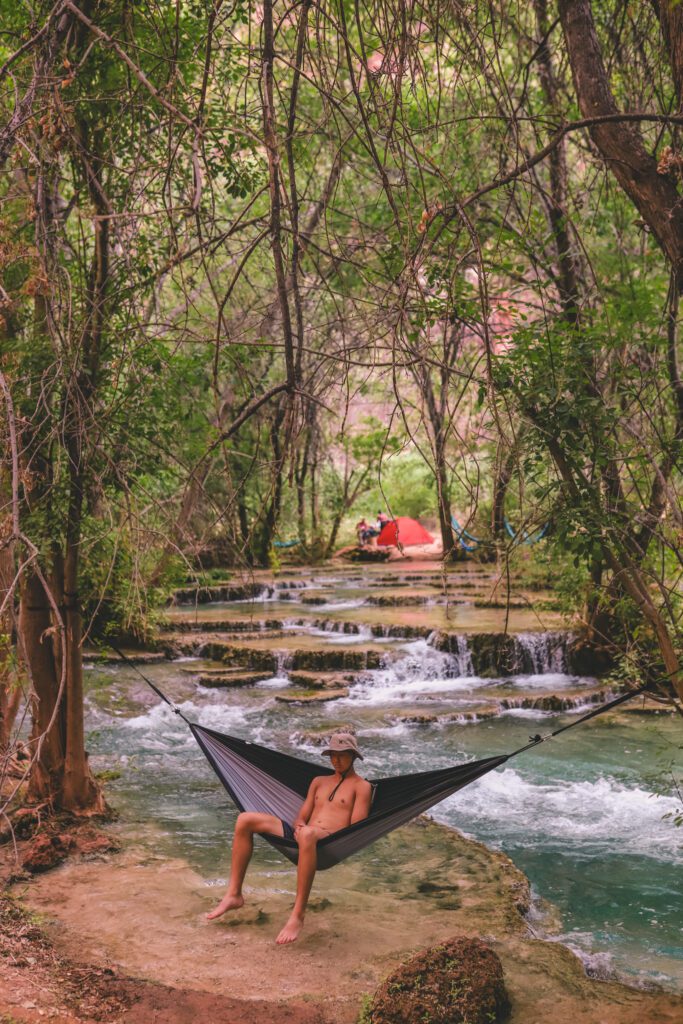
Once you set up camp, it’s time to relax and enjoy the rest of the afternoon. The best place to do that is at Havasu Falls located at the beginning of the campground.
This is the most iconic waterfall in Havasupai and it is absolutely breathtaking in person.

The water is chilly but feels good after a long hike on a hot day. You could easily spend a few hours swimming in the pools and even taking a nap on the riverbank.
Be sure to bring cash for the fry bread stand by Havasu Falls. The days and hours of operation aren’t consistent, but if it is open you don’t want to miss out.
They sell sweet and savory fry bread and it always hits the spot, especially when the rest of your meals are from dehydrated food pouches!
After an afternoon at the falls, spend the evening playing card games and swimming in the river that runs through the center of the campground.

You’ll probably be exhausted after a long day and will be ready for an early bedtime!
Day 2: Hike to Mooney and Beaver Falls (and Possibly the Confluence)
Mooney and Beaver Falls are the busiest in the late morning and early afternoon. If you want to beat the crowds, you can either get an early start before 7 am, or have a relaxing morning then head out on your hike later in the afternoon.
If you are planning to hike to the Confluence after Beaver Falls, you will need to start your hike pretty early in the morning.
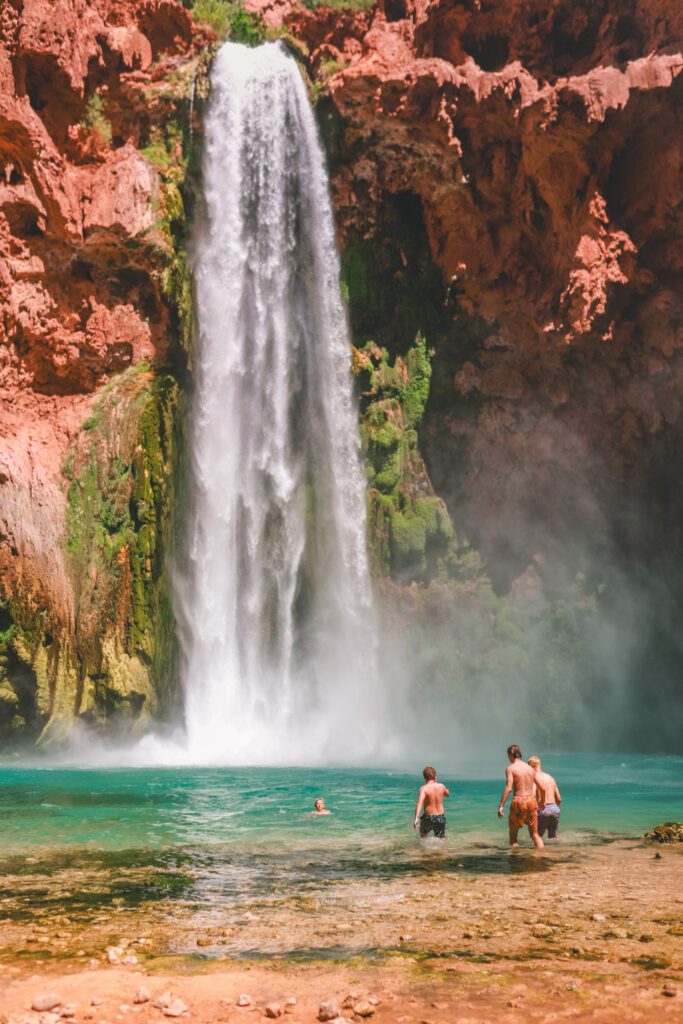
Mooney Falls is located just past the far end of the campground. You can stand above the waterfall, but getting down to the base requires a little bit of an adventure.
The descent down to the waterfall is steep and slippery. There are chains to help assist you, but use extreme caution and take it slow.
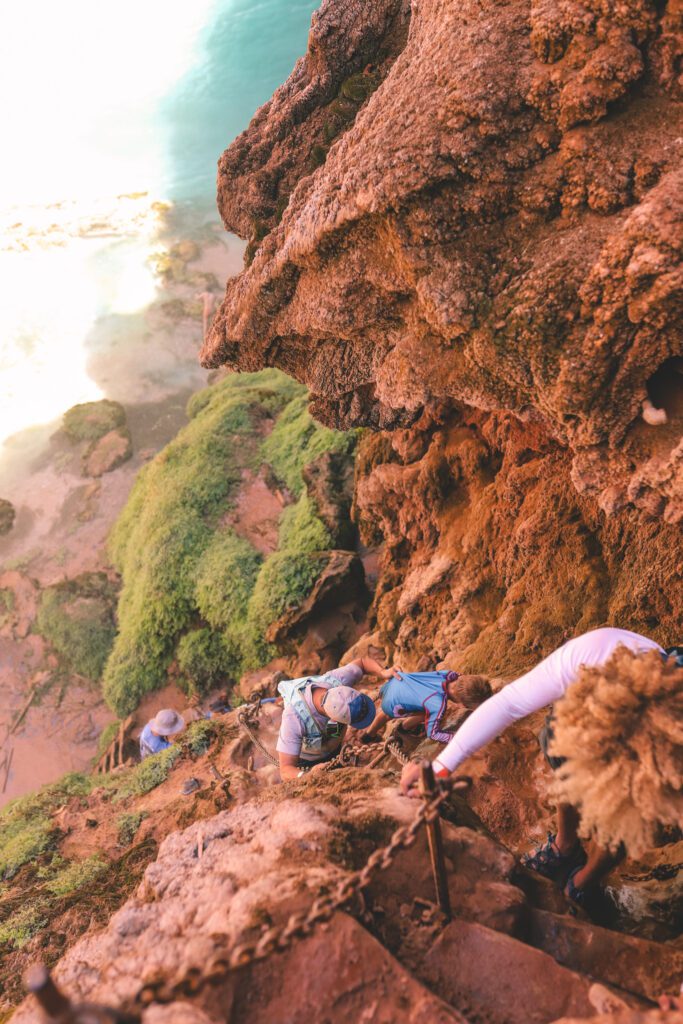
Once you reach the bottom, you’ll be blown away by the majestic 200-foot waterfall plummeting into a turquoise pool of water. You can spend some time swimming in the pool, and there is even a rope swing by the river.
When you’re ready, it’s time to hit the trail and head to Beaver Falls, my personal favorite. The hike from Mooney Falls to Beaver Falls is about 2 miles, and the hike itself is spectacular.
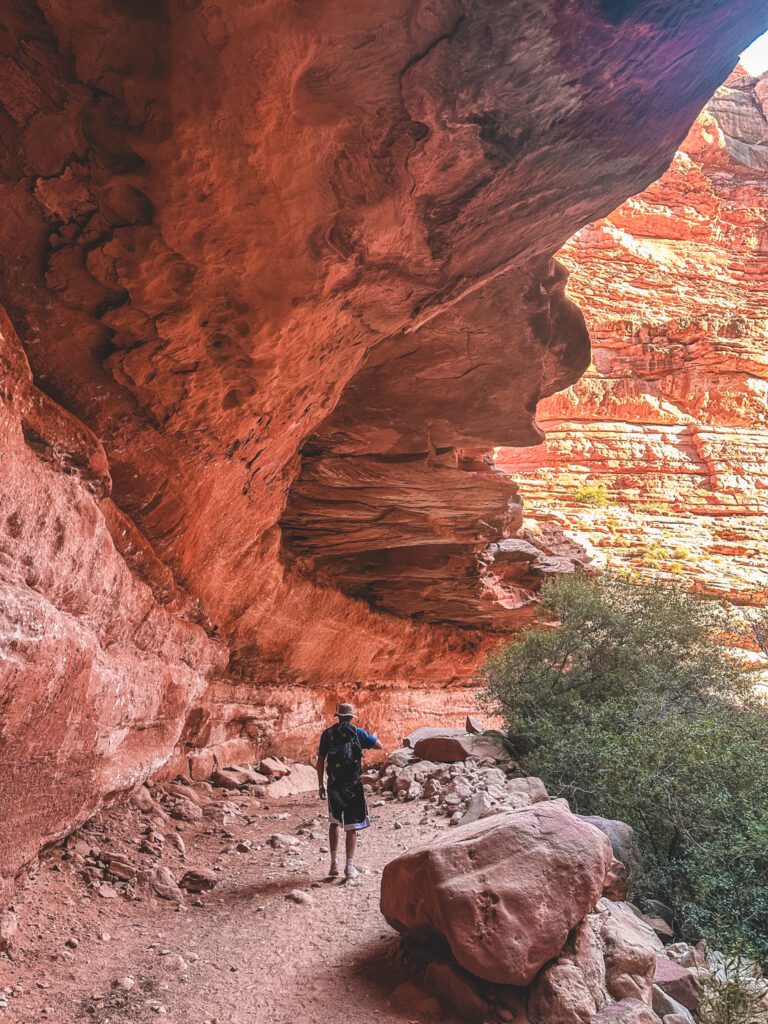
I knew the waterfalls would be beautiful at Havasupai, but I wasn’t prepared for just how beautiful the entire canyon is. It’s hard to believe places like this really exist!

The trail starts out with some river crossings (wear water shoes!), then leads through a thick jungle of vines surrounded by towering red cliffs.

The trail just keeps getting better as you get closer to the falls.

You’ll catch glimpses of the bright blue water and the “Lone Palm” oasis.

There are a few ladders to climb, then you’ll get your first full view of the tiered waterfall from above. It will leave you speechless.

You’ll want to spend time here relaxing, swimming in the pools, and soaking up the incredible beauty.

If you would like to continue on to the Confluence, it is approximately another 5 miles down the river from Beaver Falls. The Confluence is where the blue water of Havasu Creek intersects with the muddy Colorado River. We didn’t make it that far, but I heard it is amazing if you have the time and energy to go!
Depending on where you are staying in the campground, the hike to Beaver Falls is around 5-6 miles round trip and approximately 15-16 miles roundtrip to the Confluence. After hiking and swimming all day, you will be ready to get back and just relax at camp for the evening!
Day 3: Swim in the Upper Falls
You’ll want to take it easy on your last day at camp so that you can save up your energy for the hike out the next day.
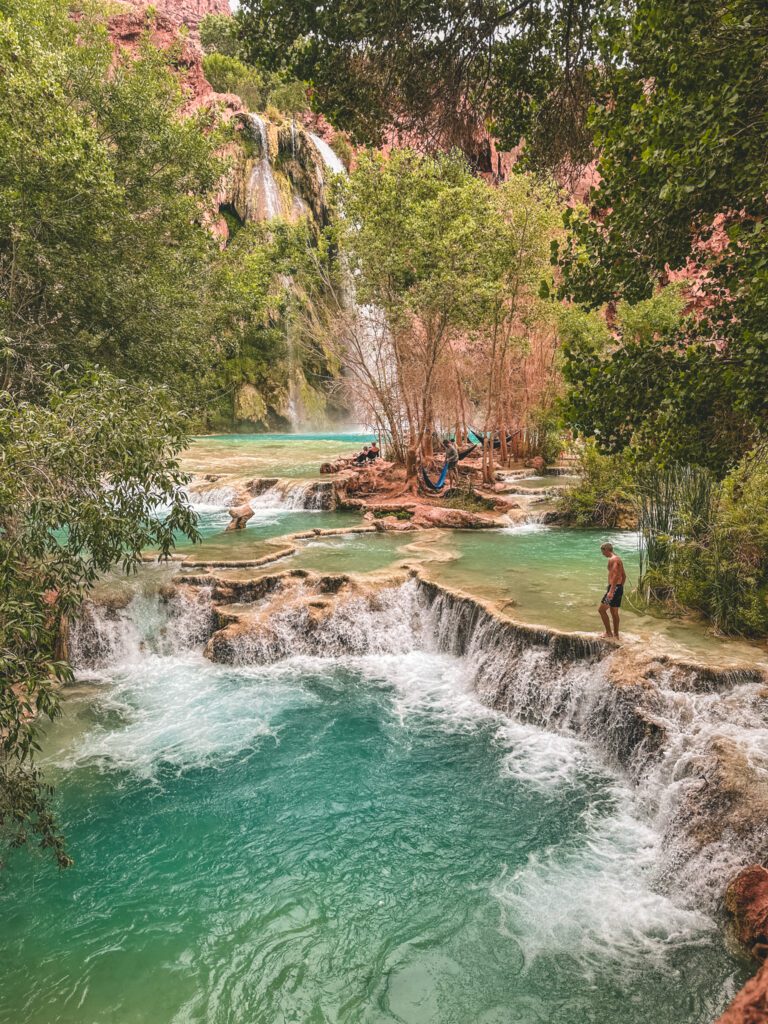
I recommend spending the day exploring the Upper Falls. The Upper Falls include Fifty Foot Falls, Little Navajo Falls, and Hidden Falls. These waterfalls tend to be less crowded but are still just as beautiful.
*UPDATE: The upper falls were greatly affected by the flash flooding in June 2025 and may look different now.

The Upper Falls are located about a mile up the trail between the campground and Havasupai Village. The trail leading down to Navajo Falls and Fifty Foot Falls is not well-marked. Once you hear the waterfalls, just look for a worn spur trail off the main trail and follow it down to the river.
Fifty Foot Falls is above Little Navajo Falls, so just make your way up or downstream to reach the different waterfalls. Once you get close to Fifty Foot Falls, you’ll need to wade through waist-deep water to reach it.

Once you get there, you’ll find a curtain of waterfalls cascading off the cliff. You can even swim behind these waterfalls.

A little further downstream, you’ll find Little Navajo Falls, a peaceful little oasis in the desert with water pouring down all around you.

We didn’t make it to Hidden Falls, but I’ve heard it is a pretty little place to swim without the crowds.
As you’re walking back to camp, you’ll pass by Havasu Falls again if you want to take another dip.

Day 4: Hike Out
Sadly, your time at Havasupai has come to an end! If you’re visiting in the warmer months, you’ll want to hike out either early in the morning or later in the evening to avoid the heat of the day.
We woke up at 3 am to pack up and were on the trail by 4 am. We were able to make it to the switchbacks while there was still shade, and were out of the canyon by 8 am before it got too hot. Another family in our group left around 6 am, and they said it was hot and miserable on the switchbacks.
We also had another family in our group who decided to spend this day relaxing at the waterfalls, then packed up and began hiking in the early evening. They said it was hot at the beginning of the hike, but the sun was down by the time they reached the switchbacks.
There are advantages and disadvantages to both options, but just keep in mind that you’ll most likely have a long drive after your hike, so you’ll want to be rested enough for that.
I hope this guide will help you make the most of your time at Havasupai! You will be exhausted by the end of your trip, but you will be filled with so many memories from visiting one of the most beautiful places on earth!
*CLICK THE BUTTON TO DOWNLOAD AND PRINT THIS GUIDE:
Pin it for later:


Would love to do this with 4-5 older guys. We all have talked about it.
I hope you get a chance to do it, it’s an unforgettable experience!