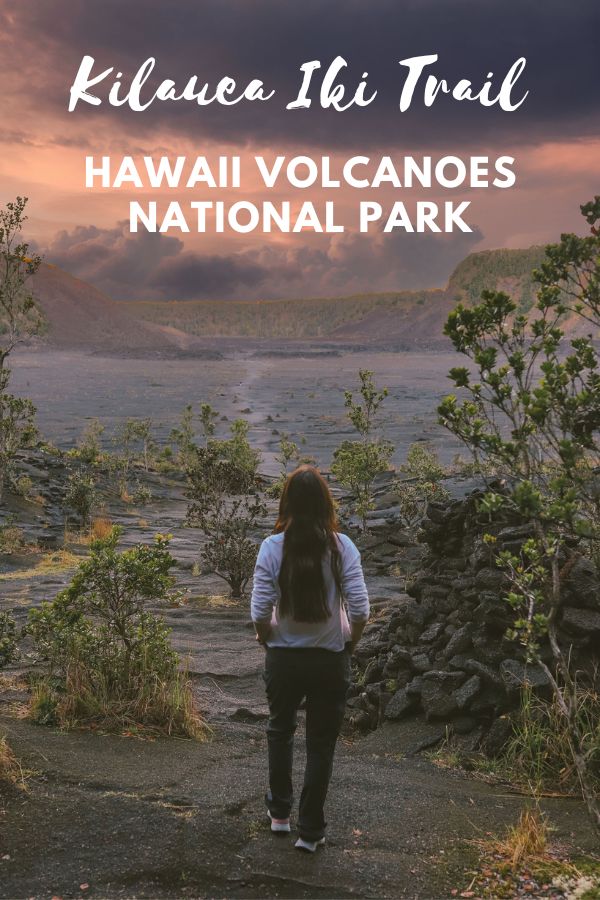
The Kilauea Iki Trail inside Hawaii Volcanoes National Park is ranked as one of the best hikes on the Big Island. It allows visitors the unique opportunity to walk across what was once a molten lake of lava.
Continue reading to discover everything you need to know before hiking the Kilauea Iki Trail!
*Disclaimer: This post contains affiliate links. If you make a purchase through the link provided, we will receive a small commission at no extra cost to you. We really appreciate your support!
Everything You Need to Know Before Hiking the Kilauea Iki Trail
Table of Contents
- Kilauea Iki Trail information
- History of Kilauea Iki
- What to bring when hiking the Kilauea Iki Trail
- What to expect when hiking the Kilauea Iki Trail
- Thurston Lava Tube
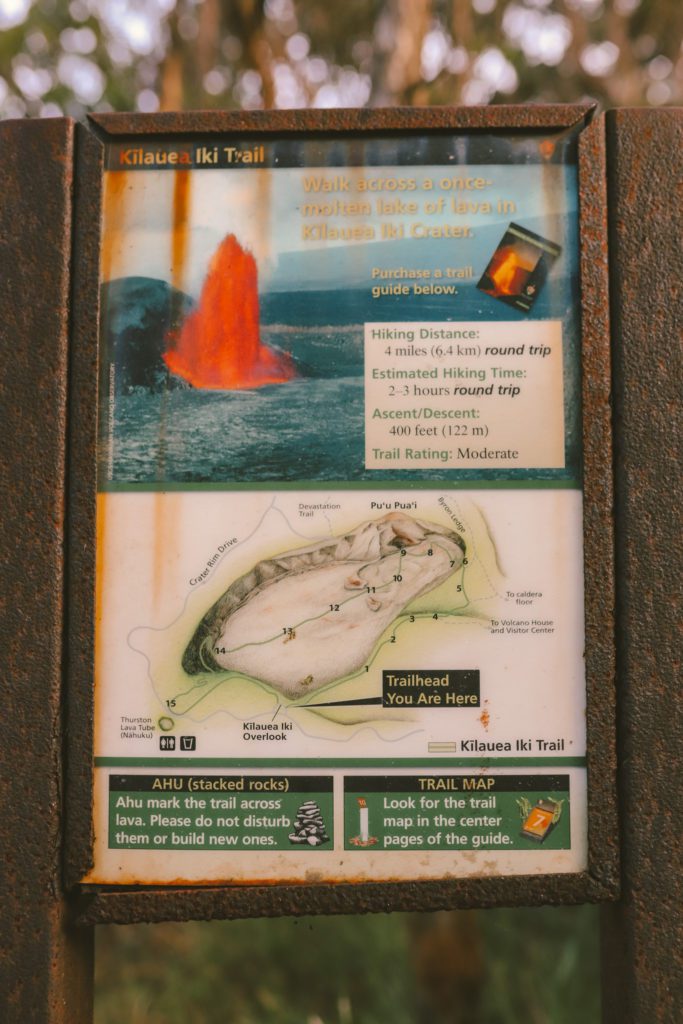
Kilauea Iki Trail information
- Fee: Admission to the park is $30 per vehicle and is valid for 7 days. National Parks passes are also accepted here.
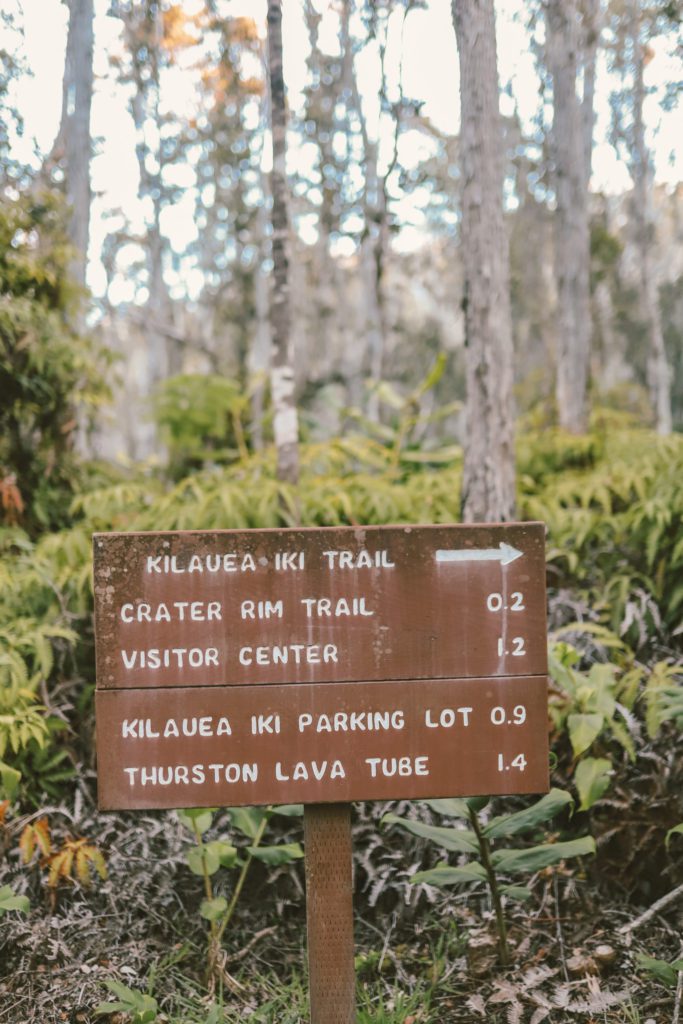
- Distance: 3.5 miles roundtrip, or 4 miles if you add on the Thurston Lava Tube.
- Time: Plan for about 2 hours.
- Elevation Gain: 400 feet according to the park map and 741 feet according to AllTrails.
- Difficulty: Rated moderate.
- Kid-friendly: Yes, this trail is a great educational experience for kids. Just use caution with the uneven terrain and steeper portions of the trail.
- Dog friendly: No, dogs are not allowed on the trail.
- Amenities: Restrooms are located in the parking lot.
- Best time to visit: The trail is open year-round, and the best time to visit is at sunrise.
History of Kilauea Iki
Kilauea is one of two volcanoes within Hawaii Volcanoes National Park and is one of the most active volcanoes in the world.
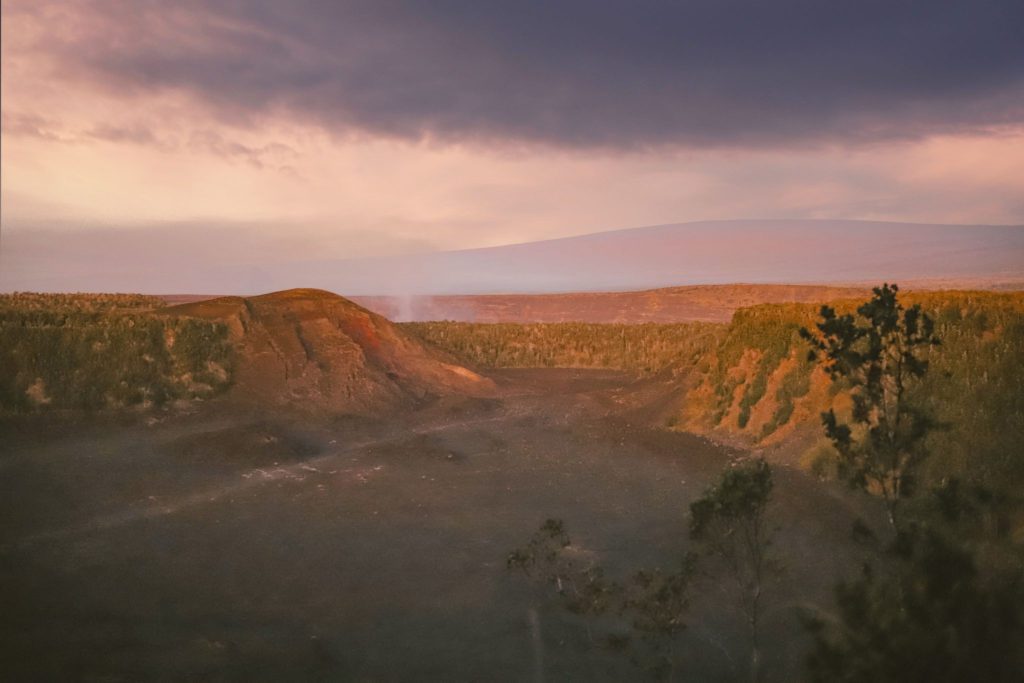
Kilauea Iki, or “Little Kilauea” is a pit crater located next to the main caldera of Kilauea. You can even see the steam rising from the Kilauea Caldera in the distance from the Kilauea Iki Overlook.
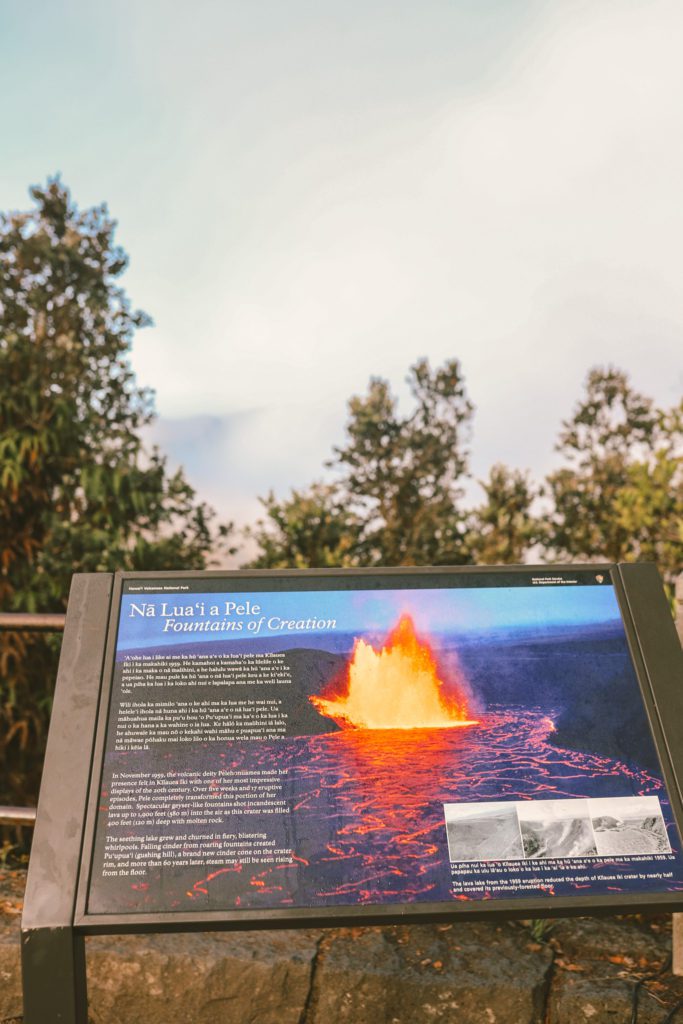
In 1959, Kilauea Iki erupted over a 5 week period with 17 different eruptions. One of the eruptions even spewed lava 1,900 feet in the air, which set a record for the highest fountain ever recorded in Hawaii.
As lava continued to seep up from the vent, the crater was filled with a 400-foot-deep molten lake.
Today, visitors can walk across what once was the lava lake to witness the aftermath of the volcanic eruption.
What to bring when hiking the Kilauea Iki Trail
- Sturdy hiking shoes: The lava rock can be sharp, unstable, and unforgiving. Be sure to wear durable closed-toe shoes. The trail can also be quite muddy if it has rained recently.
- Comfortable clothes: The park is located at a high elevation so the weather is cooler than the rest of the island and is often windy. I would recommend wearing a light jacket and layers. I also love these Kühl outdoor pants. They are lightweight, durable, and the most comfortable hiking pants I’ve ever worn.
- Water: Despite the generally cooler temperatures, be sure to still pack plenty of water. The trail across the crater floor is exposed with no shade and you’ll need to stay hydrated.
- Sun protection: As previously mentioned, much of the trail is in direct sun so be sure to wear sunscreen, a hat, and sunglasses.
- Trail map: While the trail is generally easy to follow, I always recommend AllTrails Pro. This allows you to download the map so that you can always stay on the trail even when you don’t have cell service.
What to expect when hiking the Kilauea Iki Trail
The trail begins at the Kilauea Iki Overlook parking lot. The parking lot is relatively small, so I would suggest getting there early.
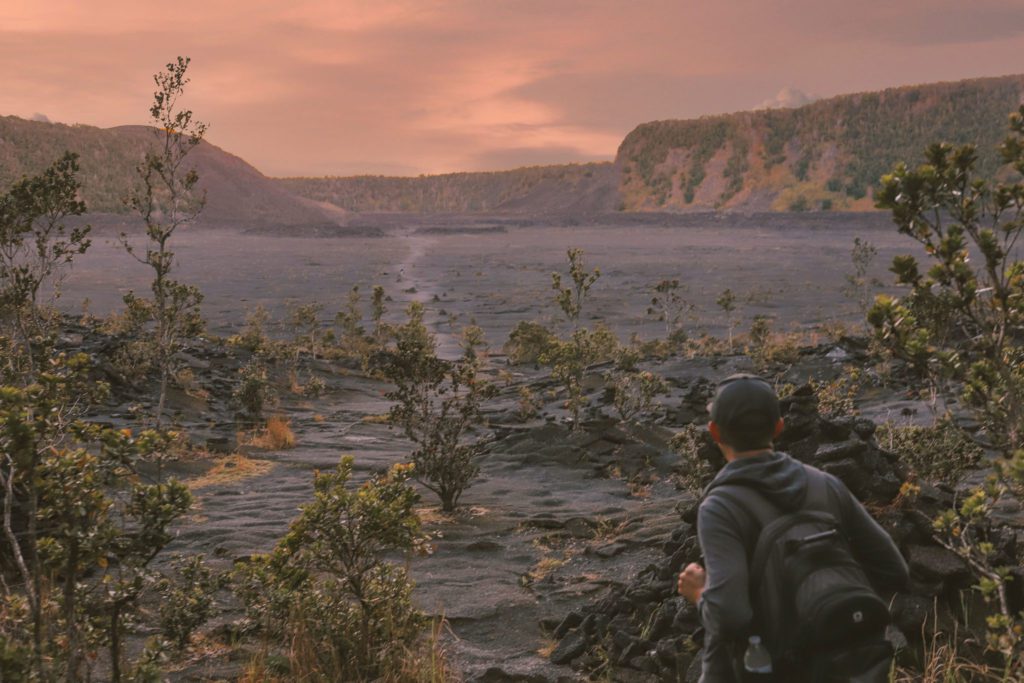
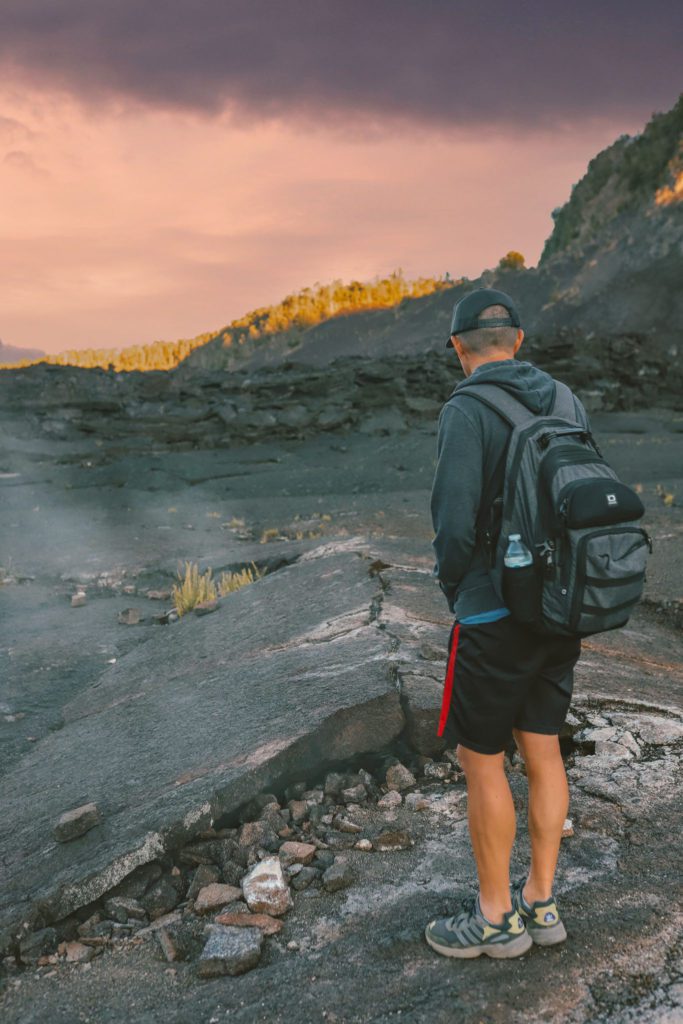
If you are able to, I would highly recommend a sunrise hike. Not only are you guaranteed parking and an empty trail, but the lighting and colors are spectacular.
The trail also leads for one mile across the exposed lava field so it can get quite hot in the middle of the day.
I would also recommend downloading the park’s Trail Guide prior to your hike for a more meaningful experience.
This guide provides more information and history about the 1959 eruption with marked points of interest along the way.
From the parking lot, the trail is a loop so you can begin to the right or the left.
We chose to start at the left and go clockwise so that the sun would be at our back as it rose above the mountain. I also think the view across the crater is better this way.
The park trail guide recommends going counterclockwise, the elevation is supposedly a little less steep going back up to the rim this way, but we didn’t notice a difference.
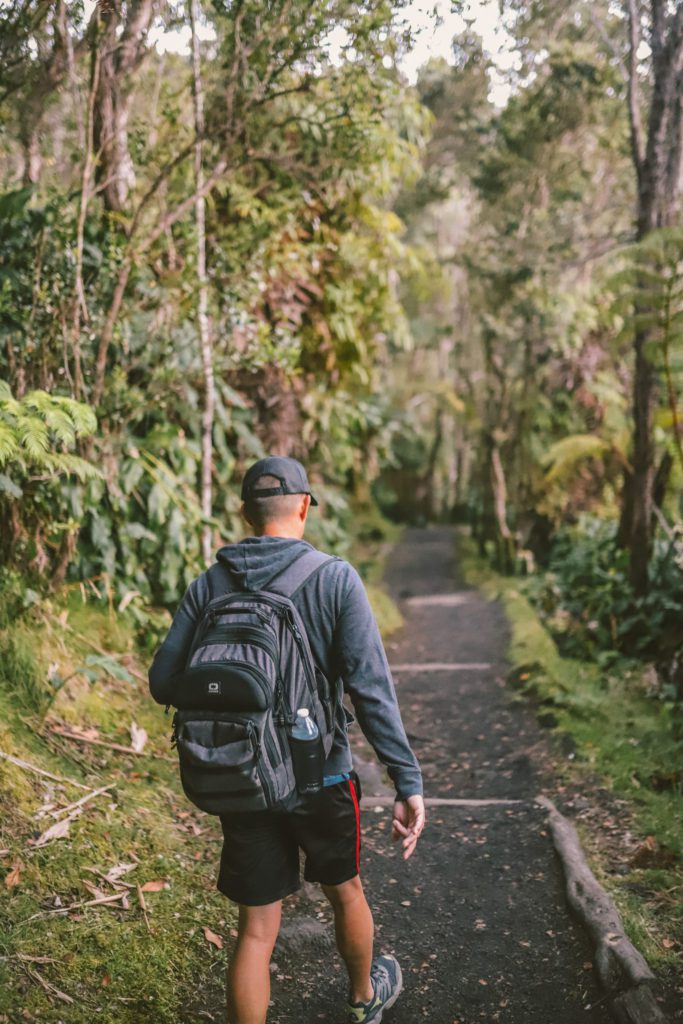
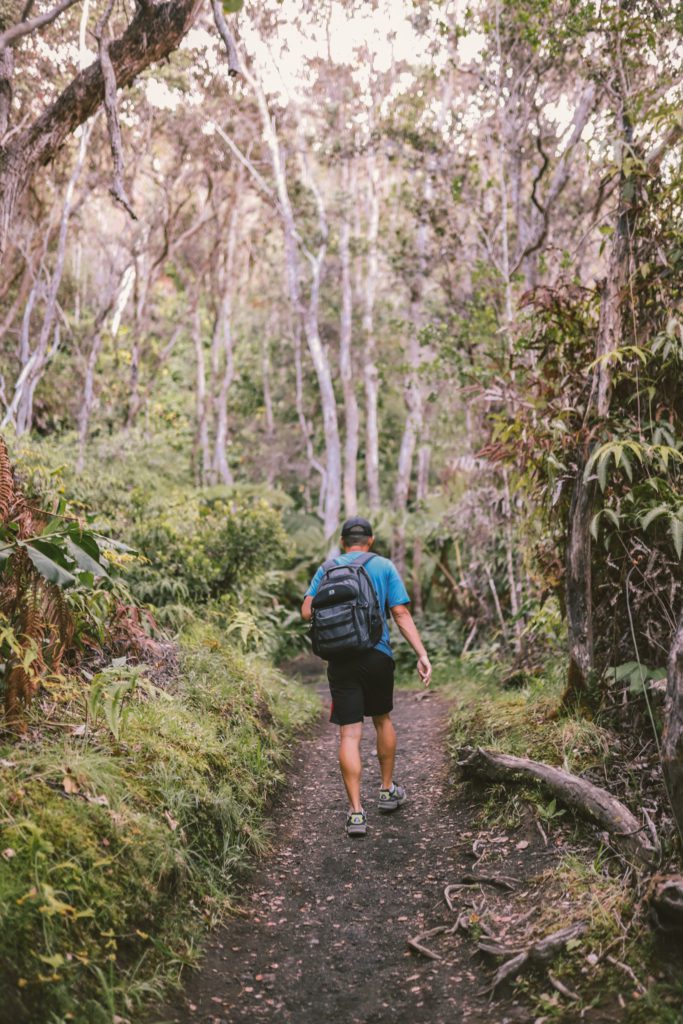
The trail starts out along the rim of the crater and leads through the thick rainforest.
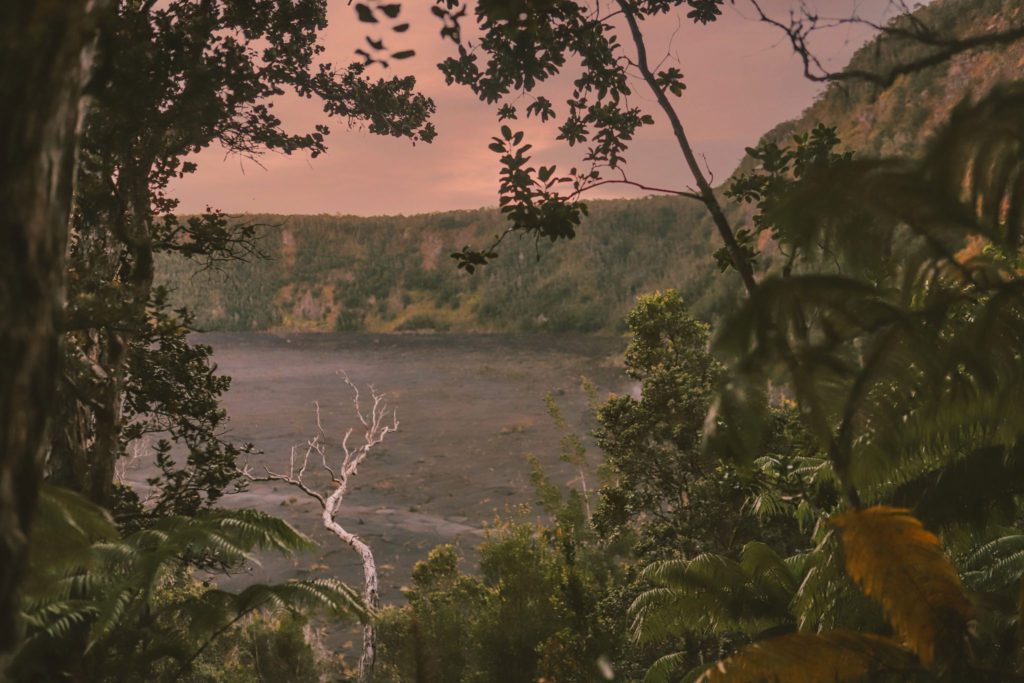
There are several lookout points where you can catch glimpses of the crater from above.
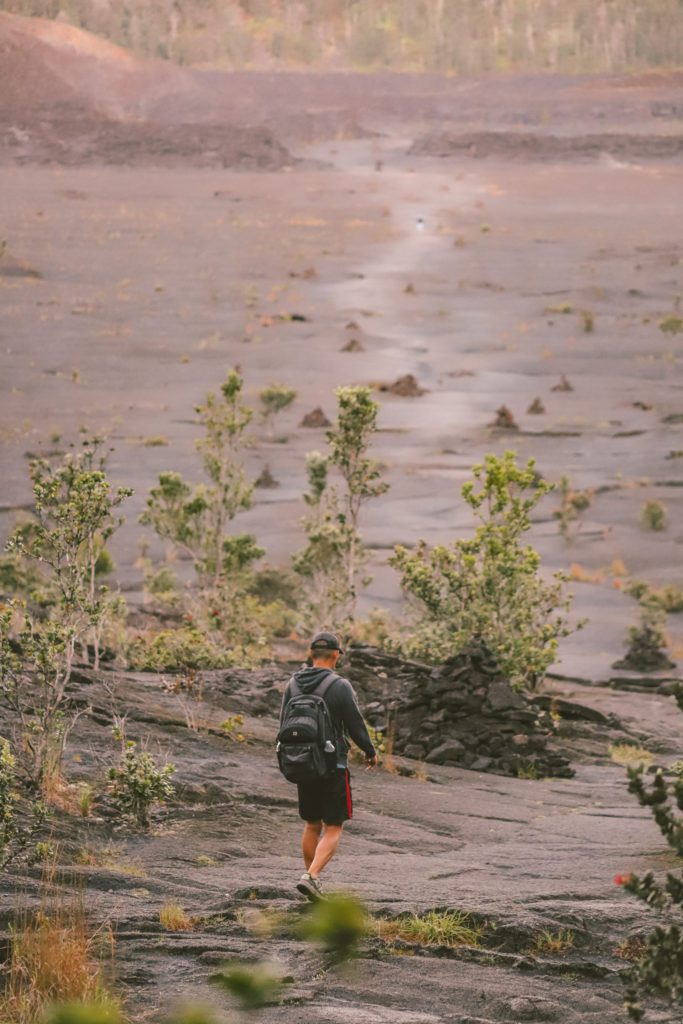
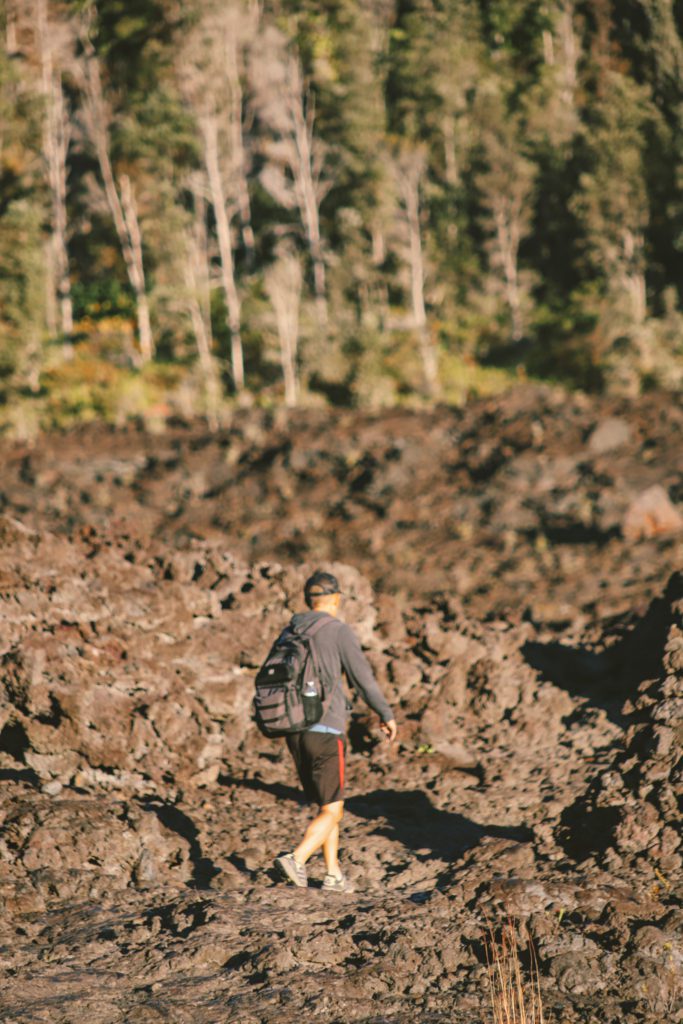
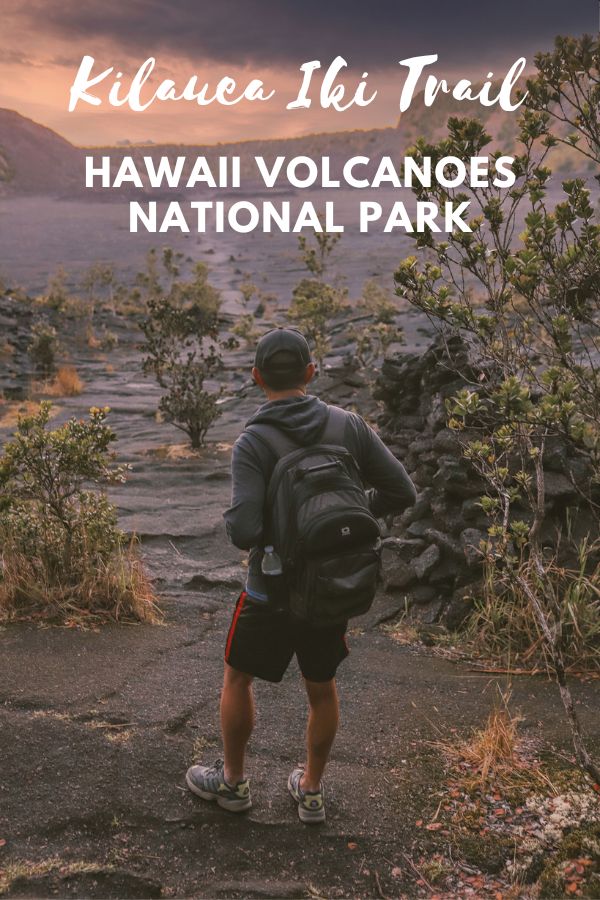
The trail will then descend down along a series of switchbacks until you reach the crater floor where you’ll walk across the solidified lava lake.
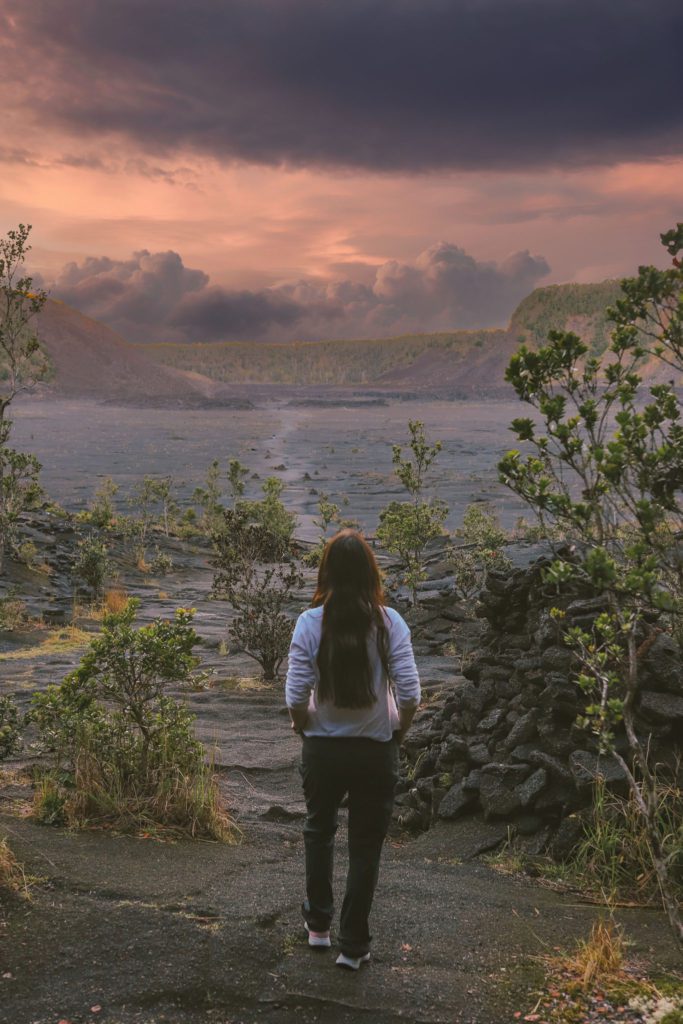
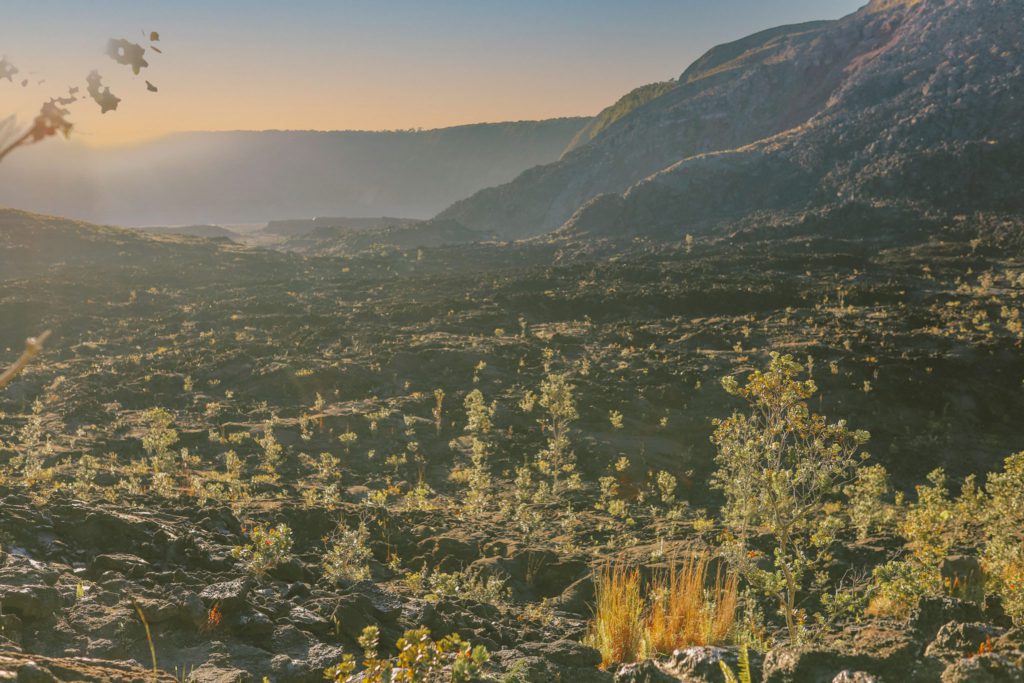
Here you’ll be surrounded by an unworldly landscape and you’ll feel like you’re walking on a different planet.
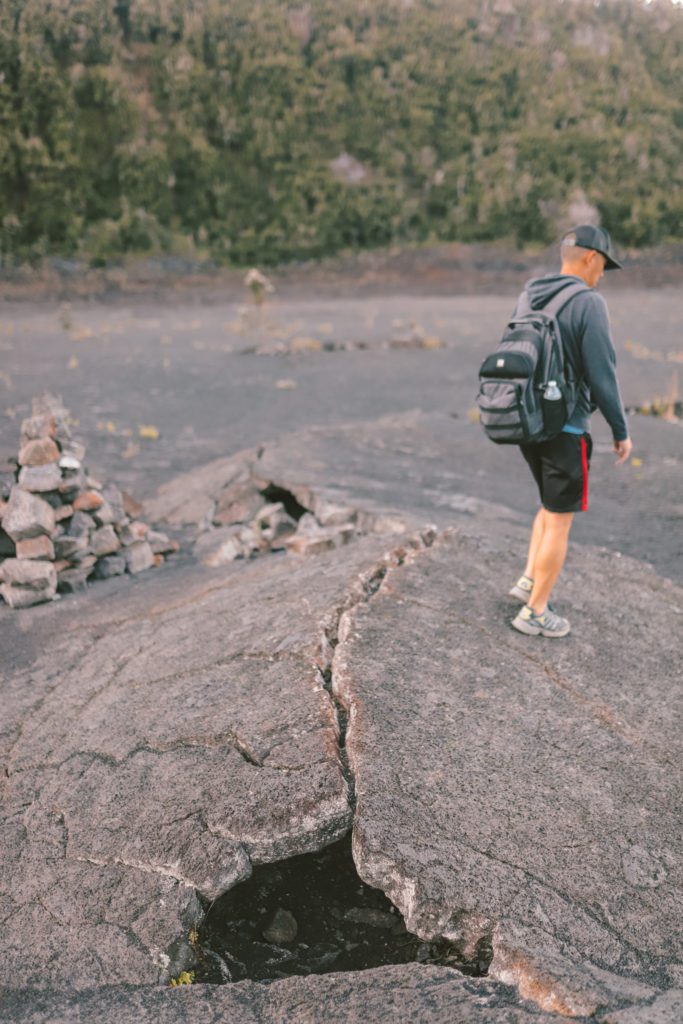
The crater is one mile wide and you’ll be walking across slabs of the lake’s crust that buckled as the lava drained back into the vent.
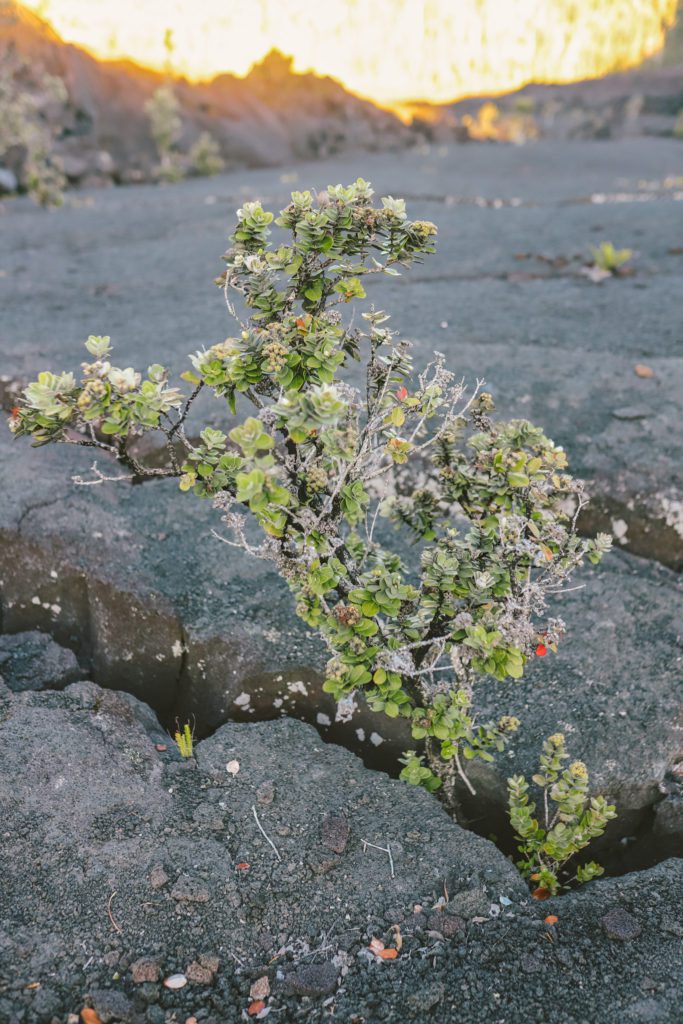
It’s so fascinating to see all of the vegetation growing up through these cracks.
It is hard to imagine that plants can grow in these conditions, but volcanic soil is actually quite rich in nutrients.
We actually learned this when visiting Pompeii where the best tomatoes in the world are grown in the soil of Mount Vesuvius!
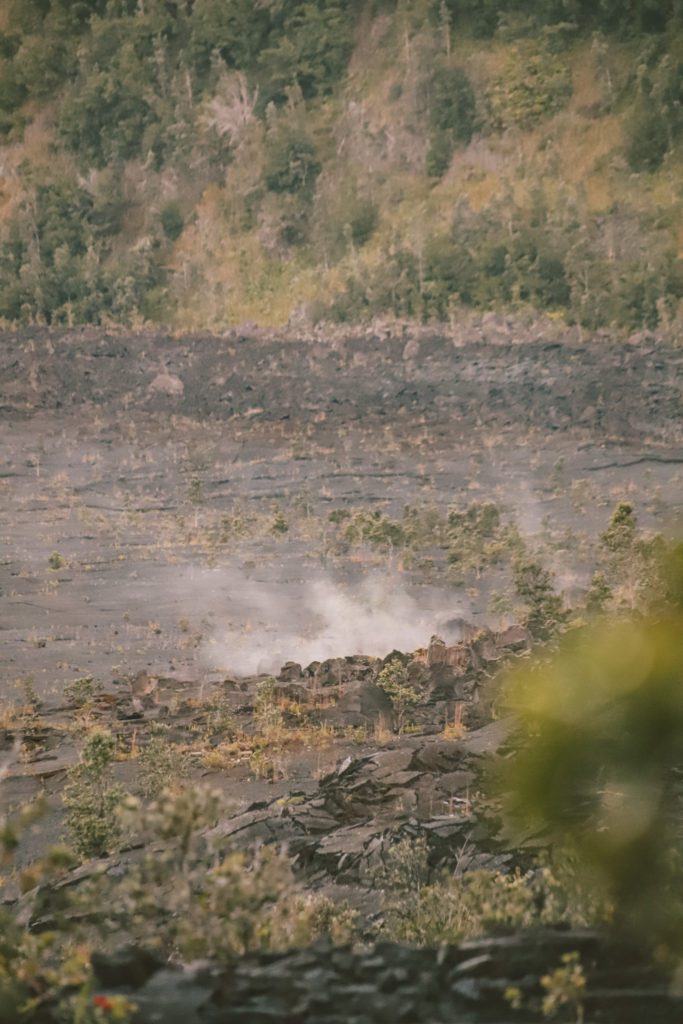
You can also see steam rising out of cracks in the earth’s surface. Even after over 60 years, the rocks below the surface are still hot enough to cause rainwater to vaporize as it seeps into the cracks.
The core of the lake is still slowly cooling and contracting, resulting in the crater floor dropping about 3/4 inch per year.
Up until 1988, scientists regularly drilled down into the crater to see the depth of the molten rock and how much of the lake had cooled and hardened.
At the time of the last drilling, almost 30 years after the eruption, there were still traces of liquid magma 330 feet below the surface. The lake is now entirely solid, but the core still remains hot.
About 175 feet south of the trail towards the eastern end of the crater, you can still see the drill holes with steam coming out.
*Related post: If you’re planning to visit Kailua-Kona, check out these 8 Fun Things to do in Kona!
The landscape of the crater changes near the western side of the trail. Here it becomes a bit rocky and uneven as you walk across “welded spatter”.
These lava fragments are formed when blobs of molten lava are fused together resulting in a landscape scattered with lava rocks of all shapes and sizes.
You can also get an up-close view of Pu’u Pua’i, the enormous cinder cone that was formed as a result of the 1,900-foot lava fountain spewing from its vent.
Once you cross over to the other side of the lava bed, you’ll ascend back up the side of the crater until you reach the rim.
Follow the trail along the rim until you get back to the parking lot.
For another great hike on the Big Island, check out the Pololū Valley Lookout Trail.
Thurston Lava Tube
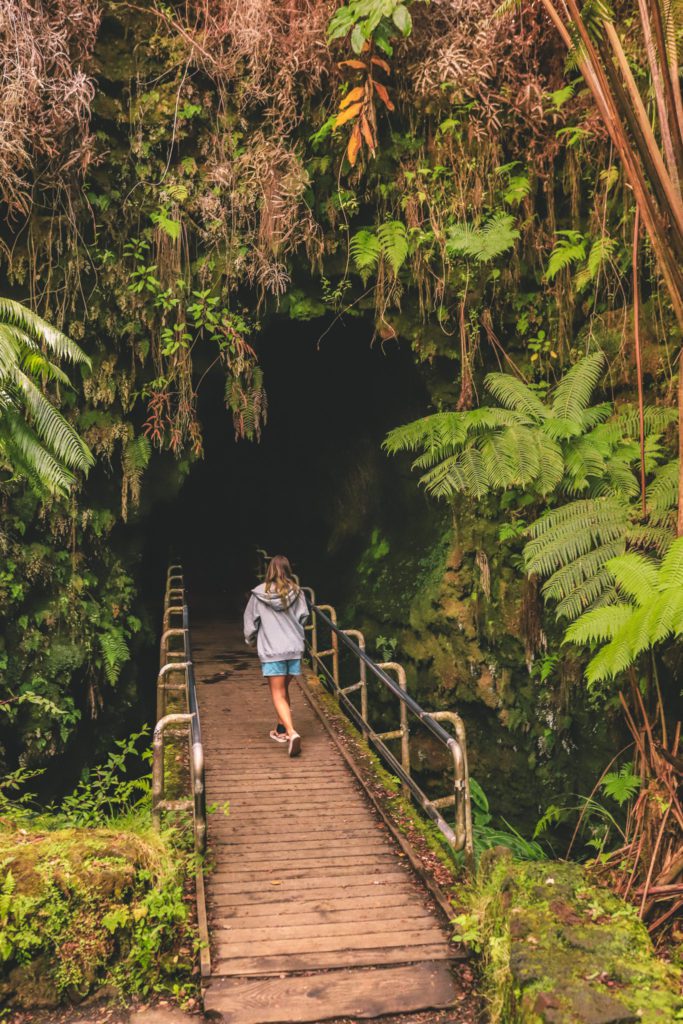
The trail along the crater rim follows right past the parking lot and trailhead for the Thurston Lava Tube.
You can reach the lava tube from here via a short 0.5-mile loop and I would highly recommend the detour.
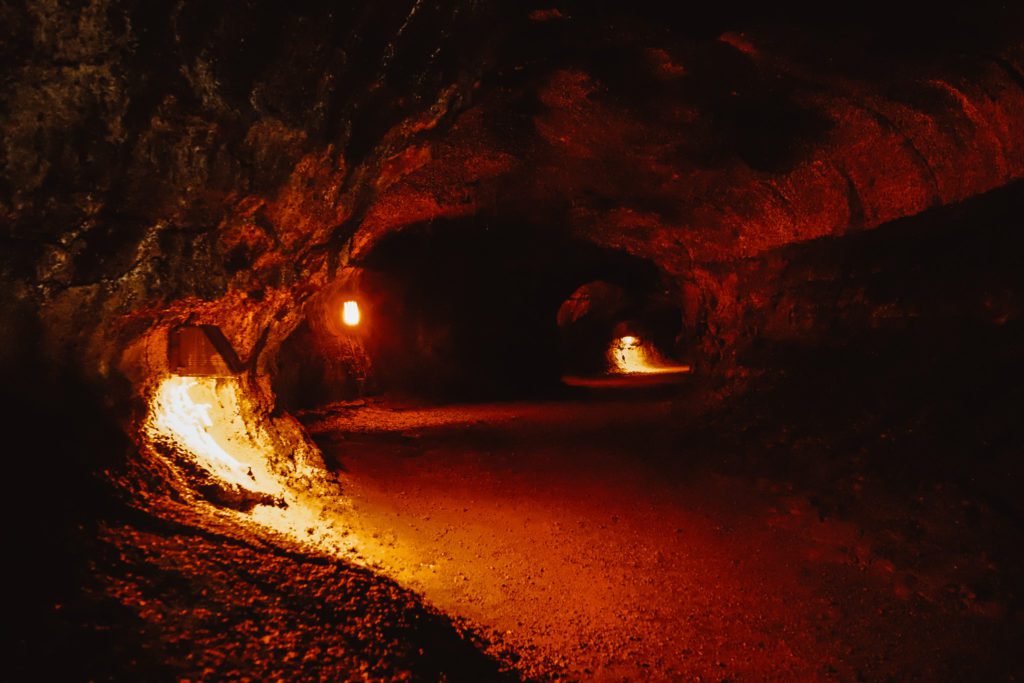
Here you’ll have the chance to walk through a cave that was formed over 500 years ago by a boiling river of lava.
This tube is a smaller version of the 20-mile-long Kaumana Caves. See our Hilo Travel Guide for more information.
The Thurston Lava Tube parking lot is quite small so it’s easier to do this trail in conjunction with the Kilauea Iki Trail so that you only need to find parking once.
After your morning hike, consider exploring the rest of Volcanoes National Park on a guided e-bike tour for a unique way to experience the park!
Hiking the Kilauea Iki Trail is one of our top recommended things to do while spending a week on the Big Island. For a complete itinerary, see our guide for the Best Things to do on the Big Island in One Week.
[convertkit form=3250084]
I hope this guide helps you to know what to expect when hiking the Kilauea Iki Trail. If you have any questions, leave it in the comments below!
And if you’re interested in more Hawaii content, check these out:




This was so helpful, thank you! What time do you recommend getting to the parking lot to see the sunrise on this hike? (how long before sunrise to start the hike – starting in the dark or start 20-30 prior to sunrise?)
Hi Carmen, I’m so glad this was helpful! I would recommend arriving at the parking lot about 30 minutes prior to sunrise and that should get you to the crater by the time the sun is beginning to rise. Enjoy your trip!